I am dono, CG freelancer from Paris, France. I use Blender as my main tool for both personal and professional work.
My workflow was a bit hectic during the creation of my tribute to Hayao Miyazaki short. There’s a ton of ways to produce such film anyway, and everyone has its own workflow, so the best I can do is to simply share how I personally did it.
I always loved the work of Hayao Miyazaki. I already had a lot of references from blu-ray, art books, mangas and such, so I didn’t spend a lot of time searching for references, but all I can say is that’s quite an important task at the beginning of a project. Having good references can save a lot of time.
I simply started the project as a modeling and texturing exercise, just to practice. After modeling the bath of “Spirited Away”, I thought it could be cool to do something more evolved.
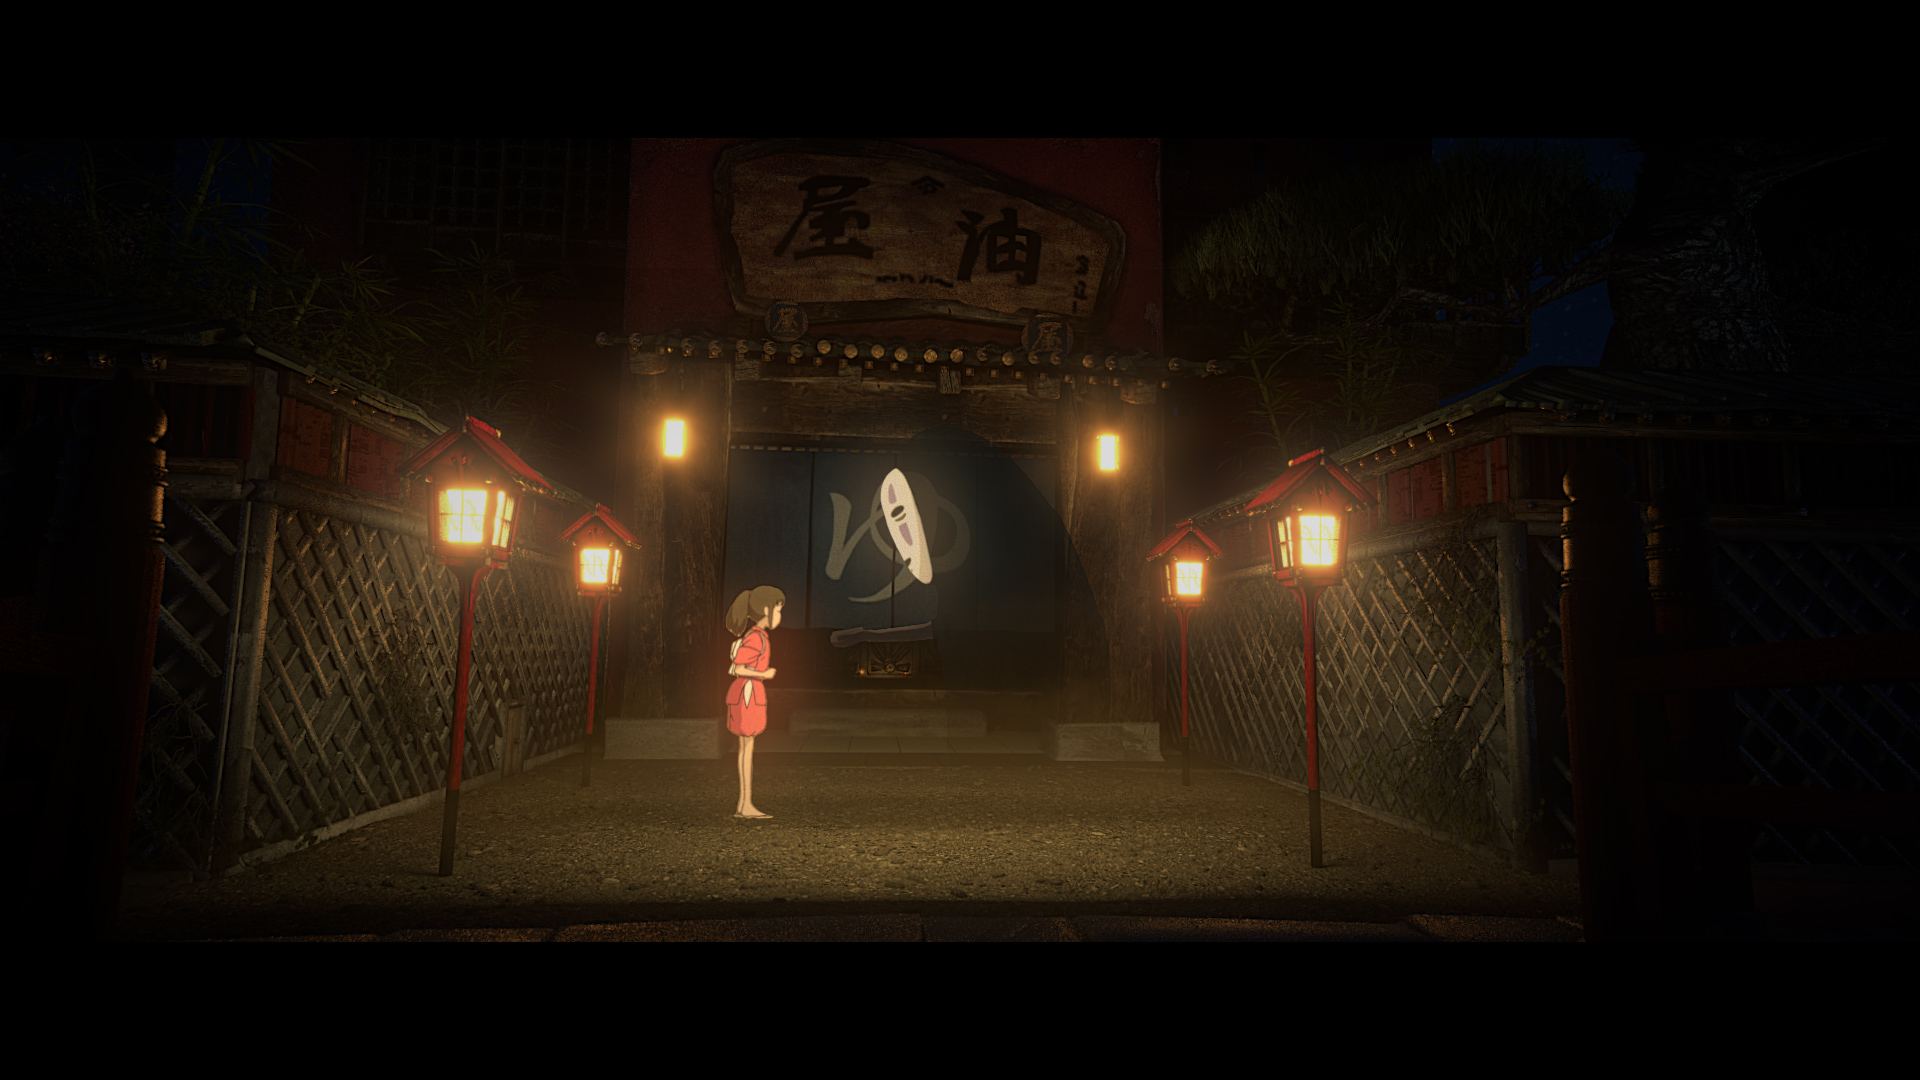
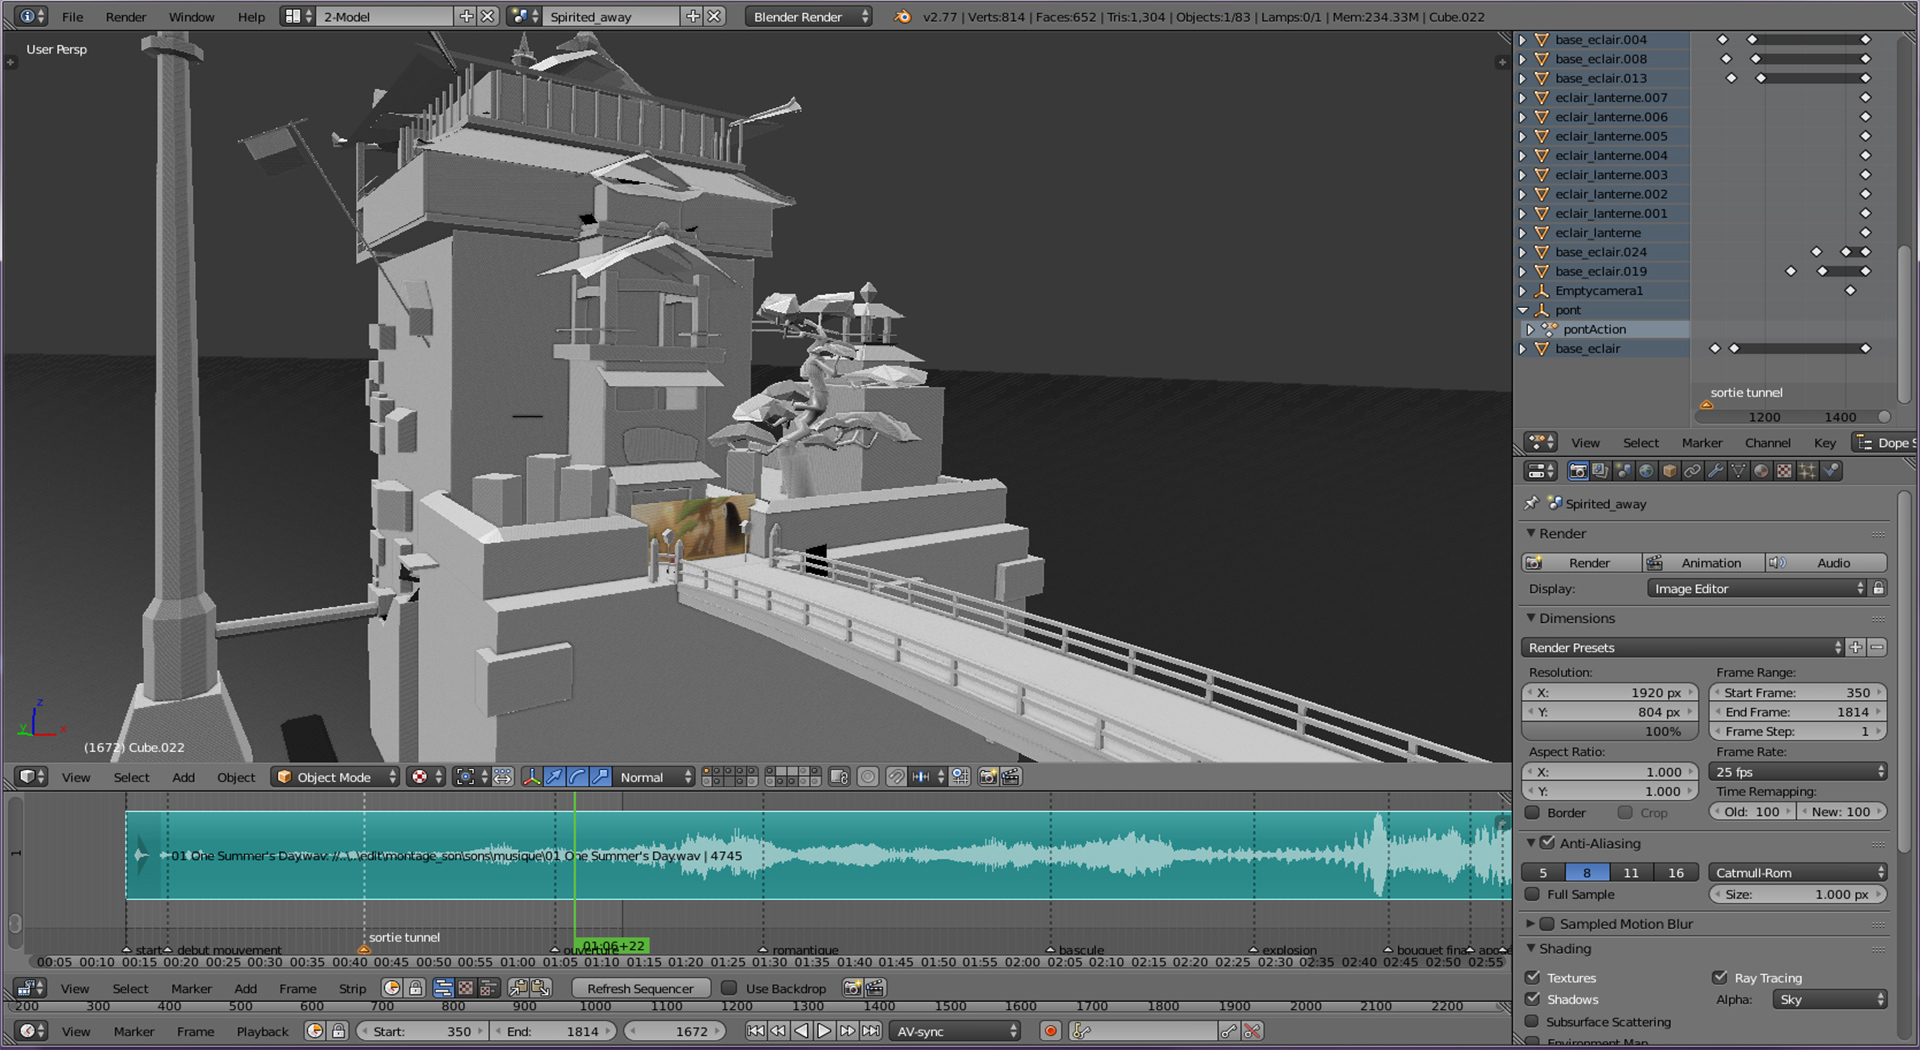
So I first did a layout with very low poly meshes to have a realtime preview of the camera’s movements. I also extracted frames from the movies using blurays footage to make two different quality versions. One version used low res JPGs to use for realtime preview in 3D viewport. The second one used raw PNGs for final renders.
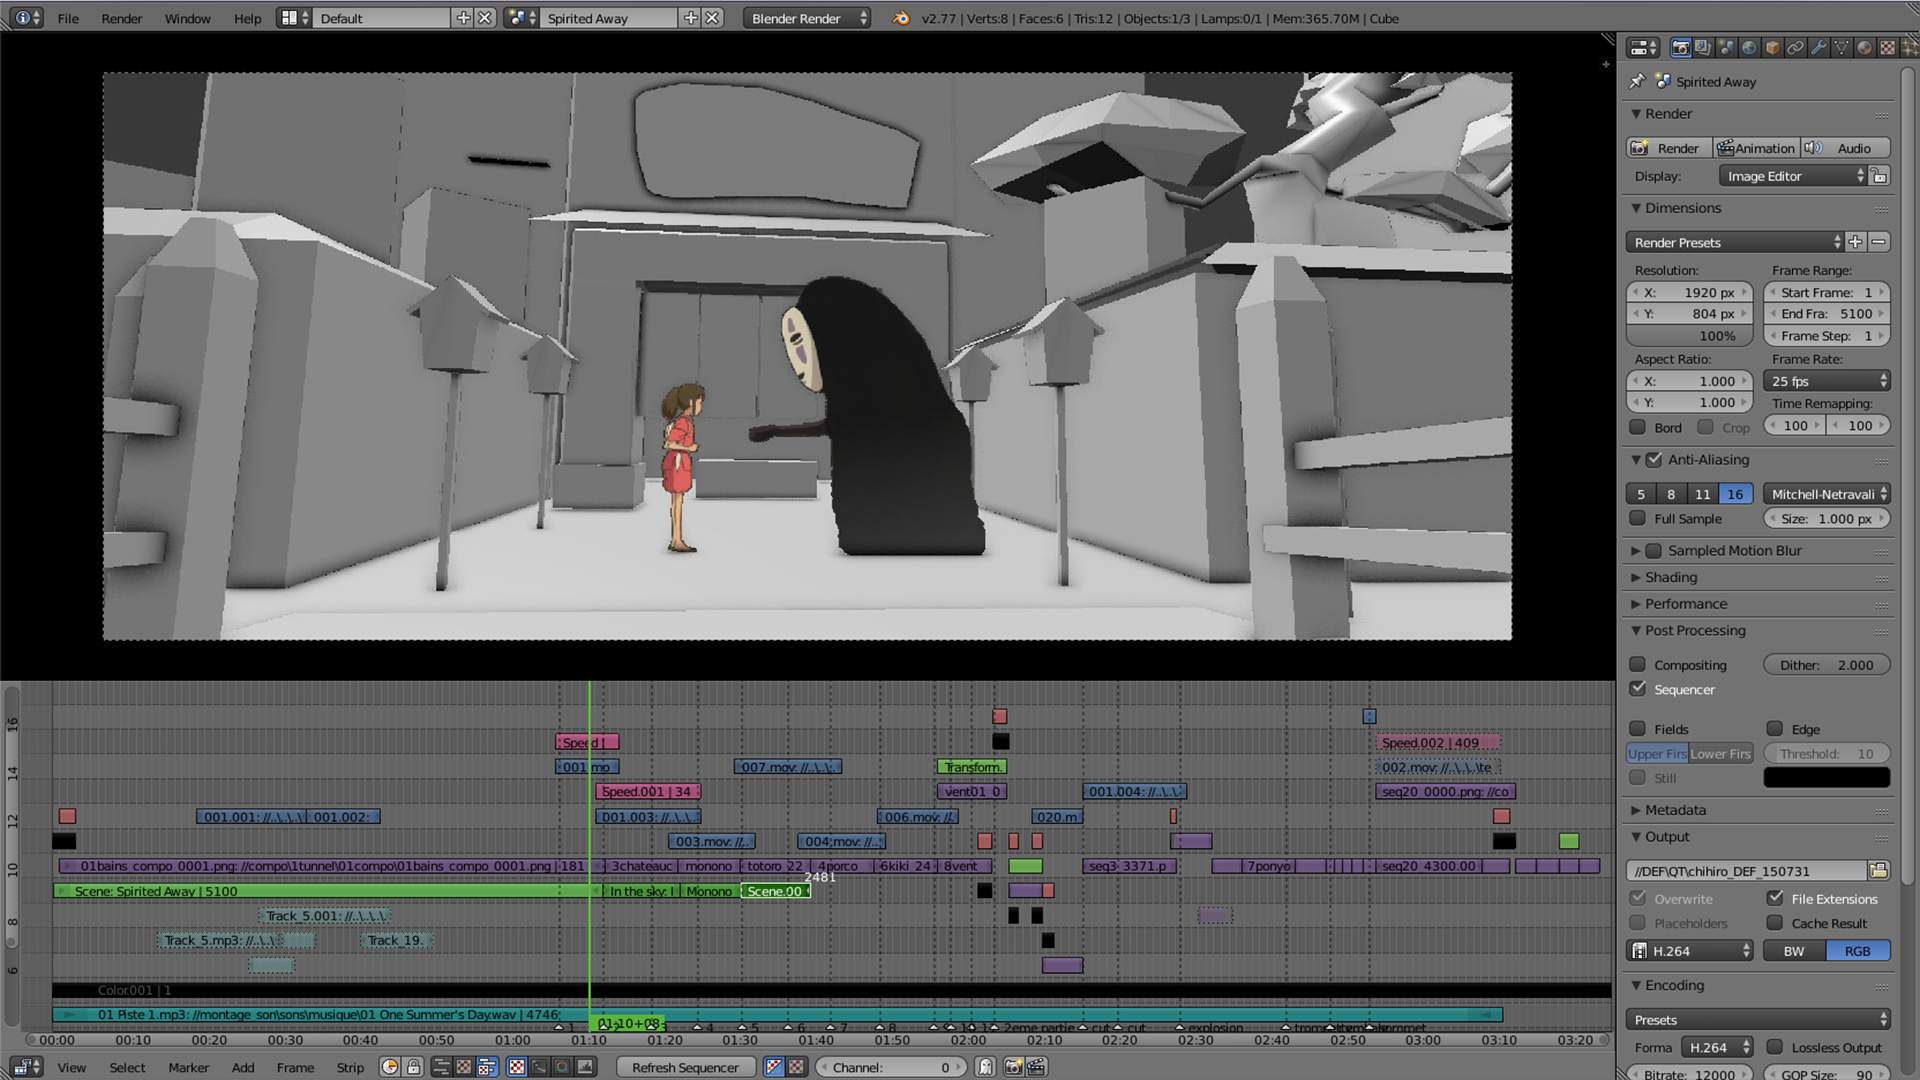
I used realtime previews to edit it all together using Blender’s sequencer. I wanted to find a good tempo and feeling for the music, and with realtime in Blender’s viewport, it was easy and smooth to built up. I edited directly the 3D viewport, by linking the scene in the sequencer, so I didn’t need to render anything!
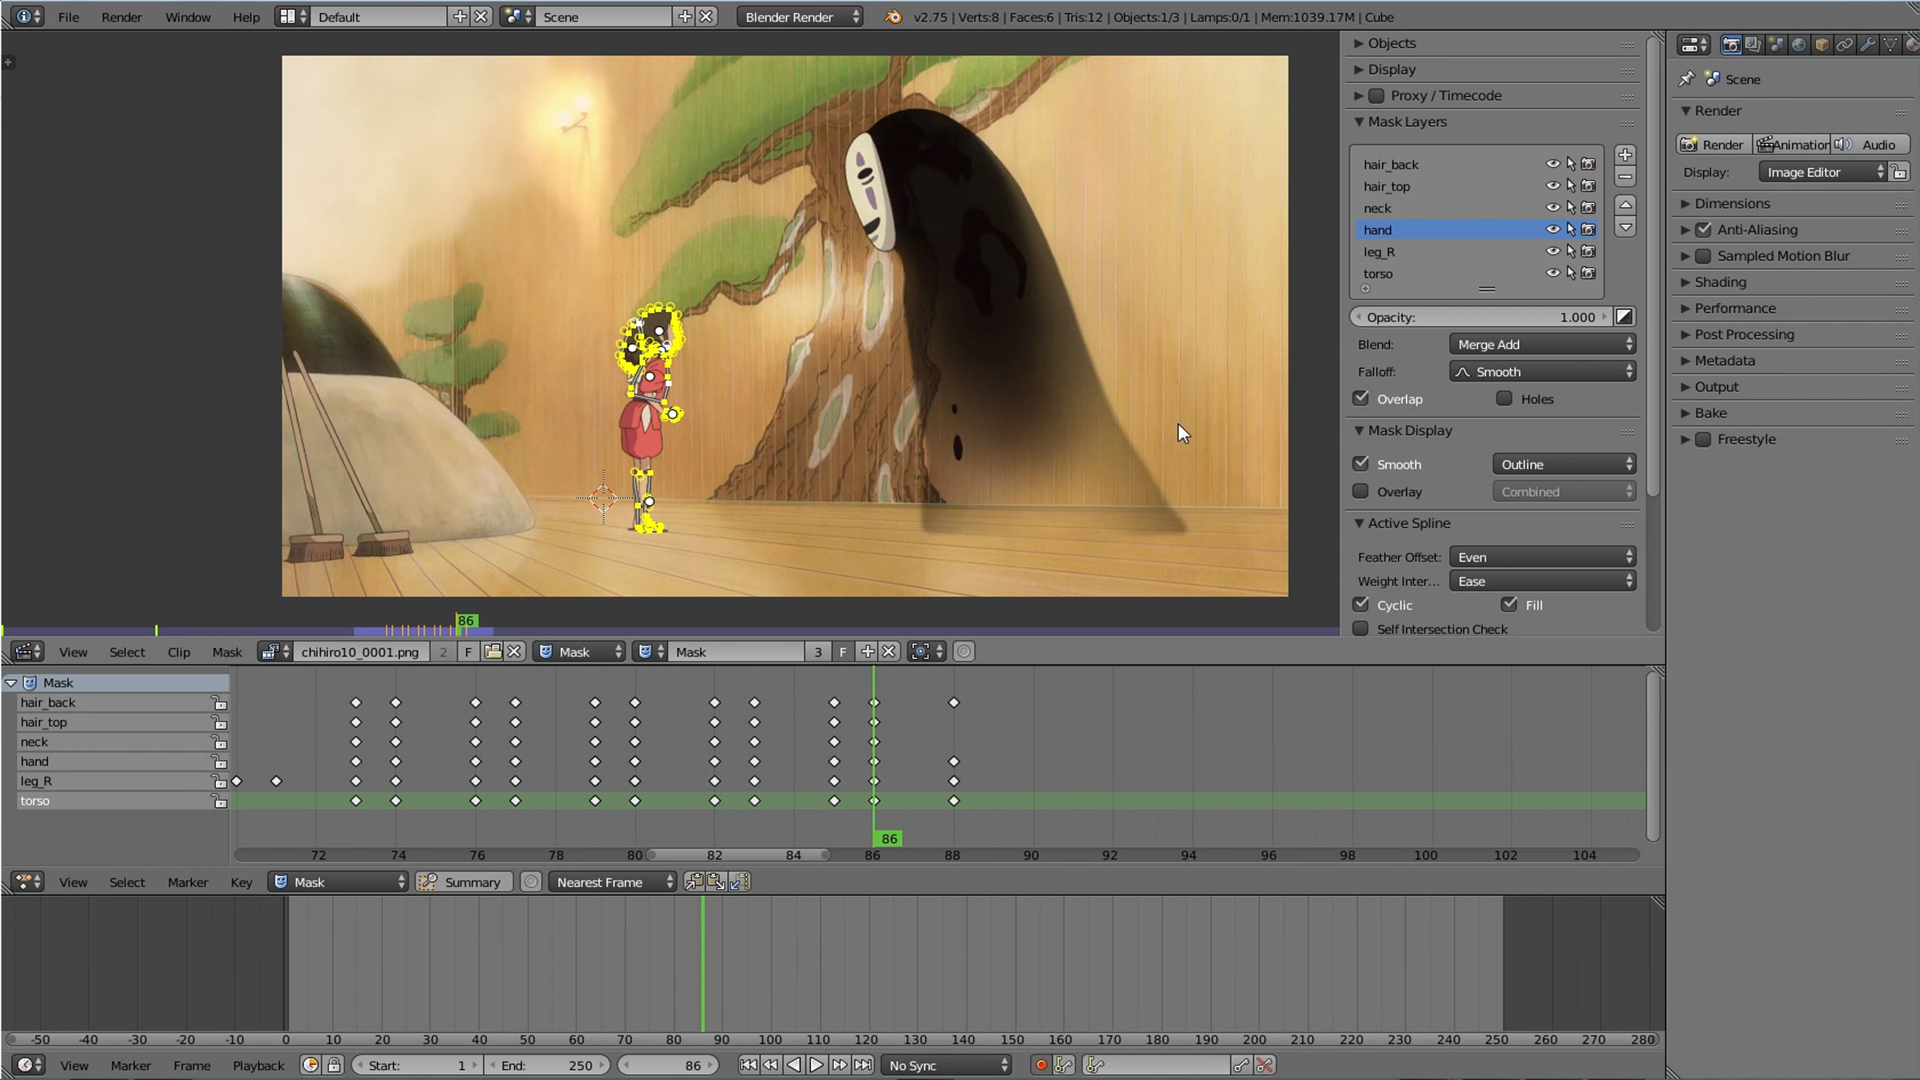
Next, I did the rotoscoping in Blender frame by frame. Having used realtime previews for the editing, I already knew exactly how many frames I had to rotoscope. That way I didn’t wasted any time rotoscoping unecessary footage, which was crucial because rotoscoping is very, very time consuming. The very important thing when you do a rotoscoping is to separate parts. You do not want to have everything in one part. Having separated layers makes it more flexible and faster.
Then, I modeled and unwraped the assets in blender, textured them in Blender and Gimp. I used one blend for each asset to limit blends file size, and used linking to bring everything together in one scene. I also created a blend file that contained a lot of materials (different kind of metal, wood), so I could link them and reuse them at will. It was worth it since it having a modular workflow often really saves time.
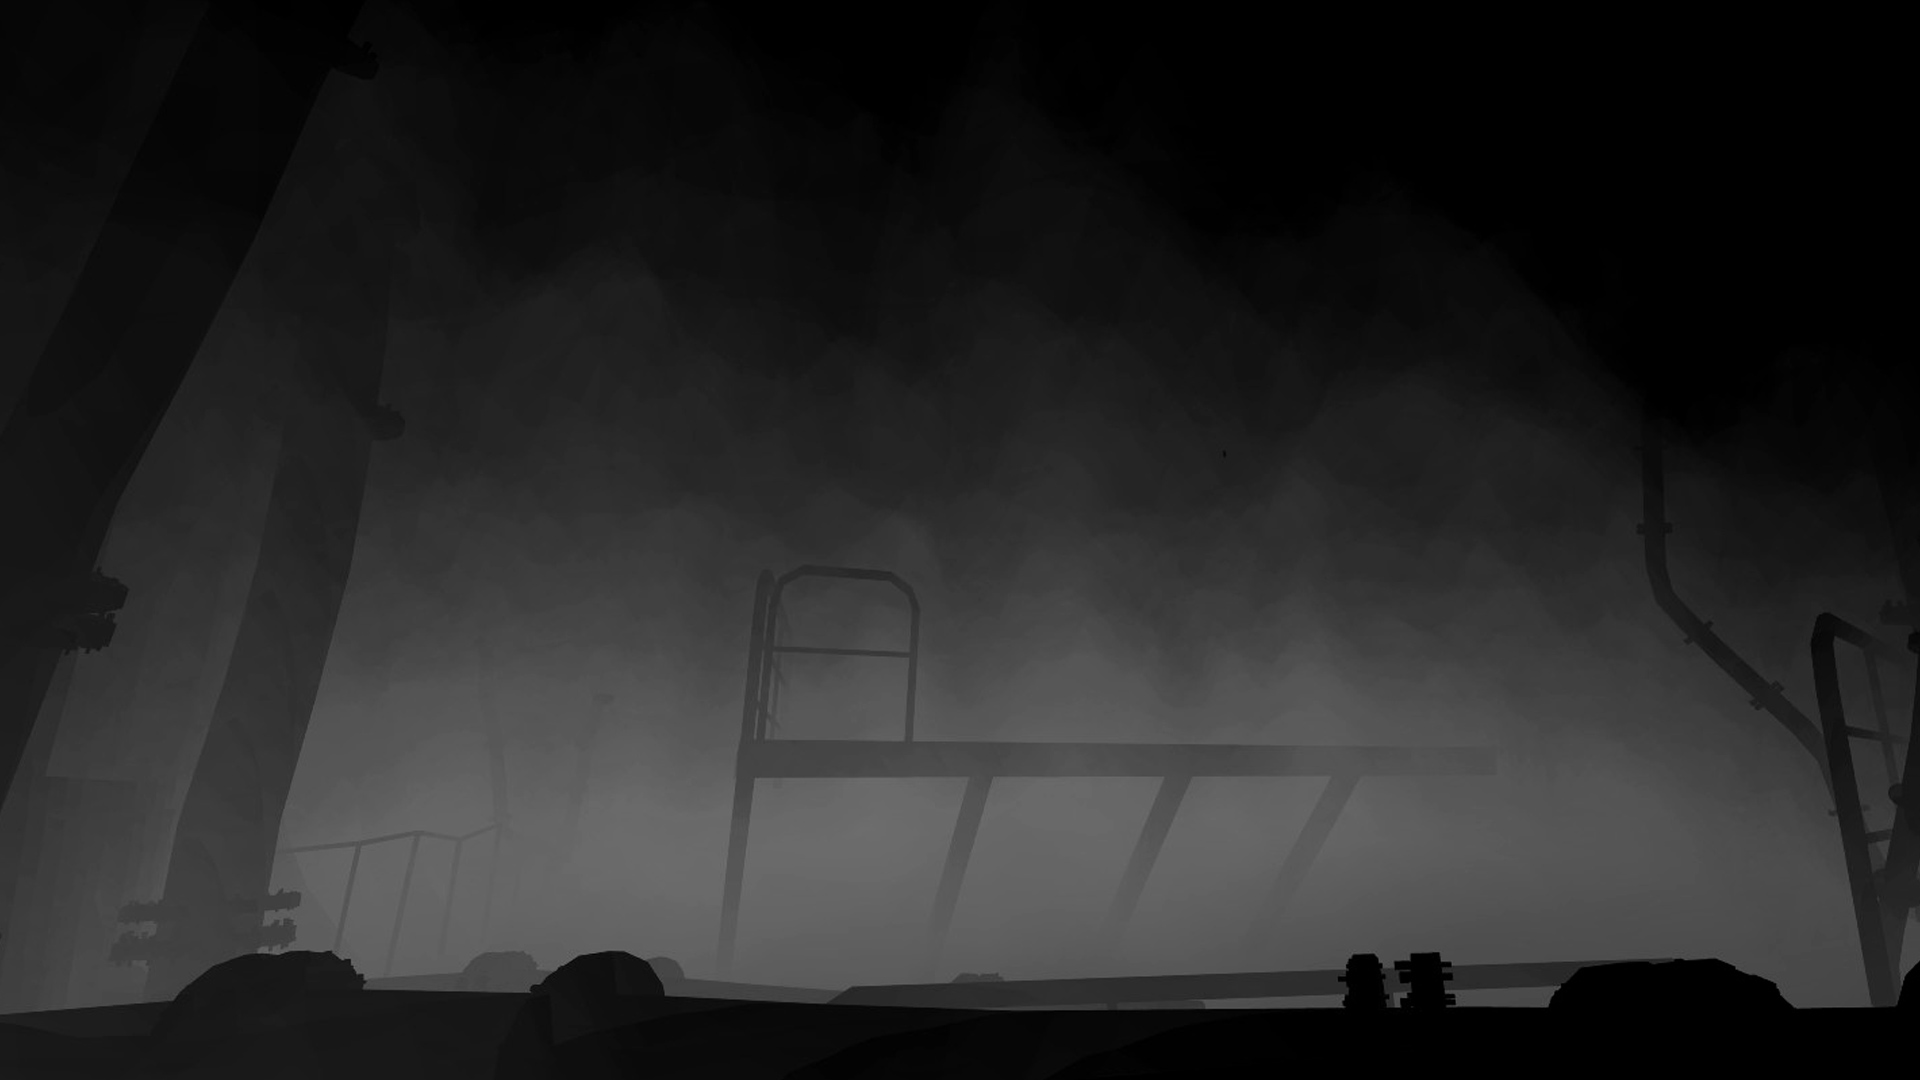
For the smoke, I used the blender smoke, directly rendered in openGL in Blender Internal. You can see and correct very easily any mistakes. I did also some dust and fog pass with it.
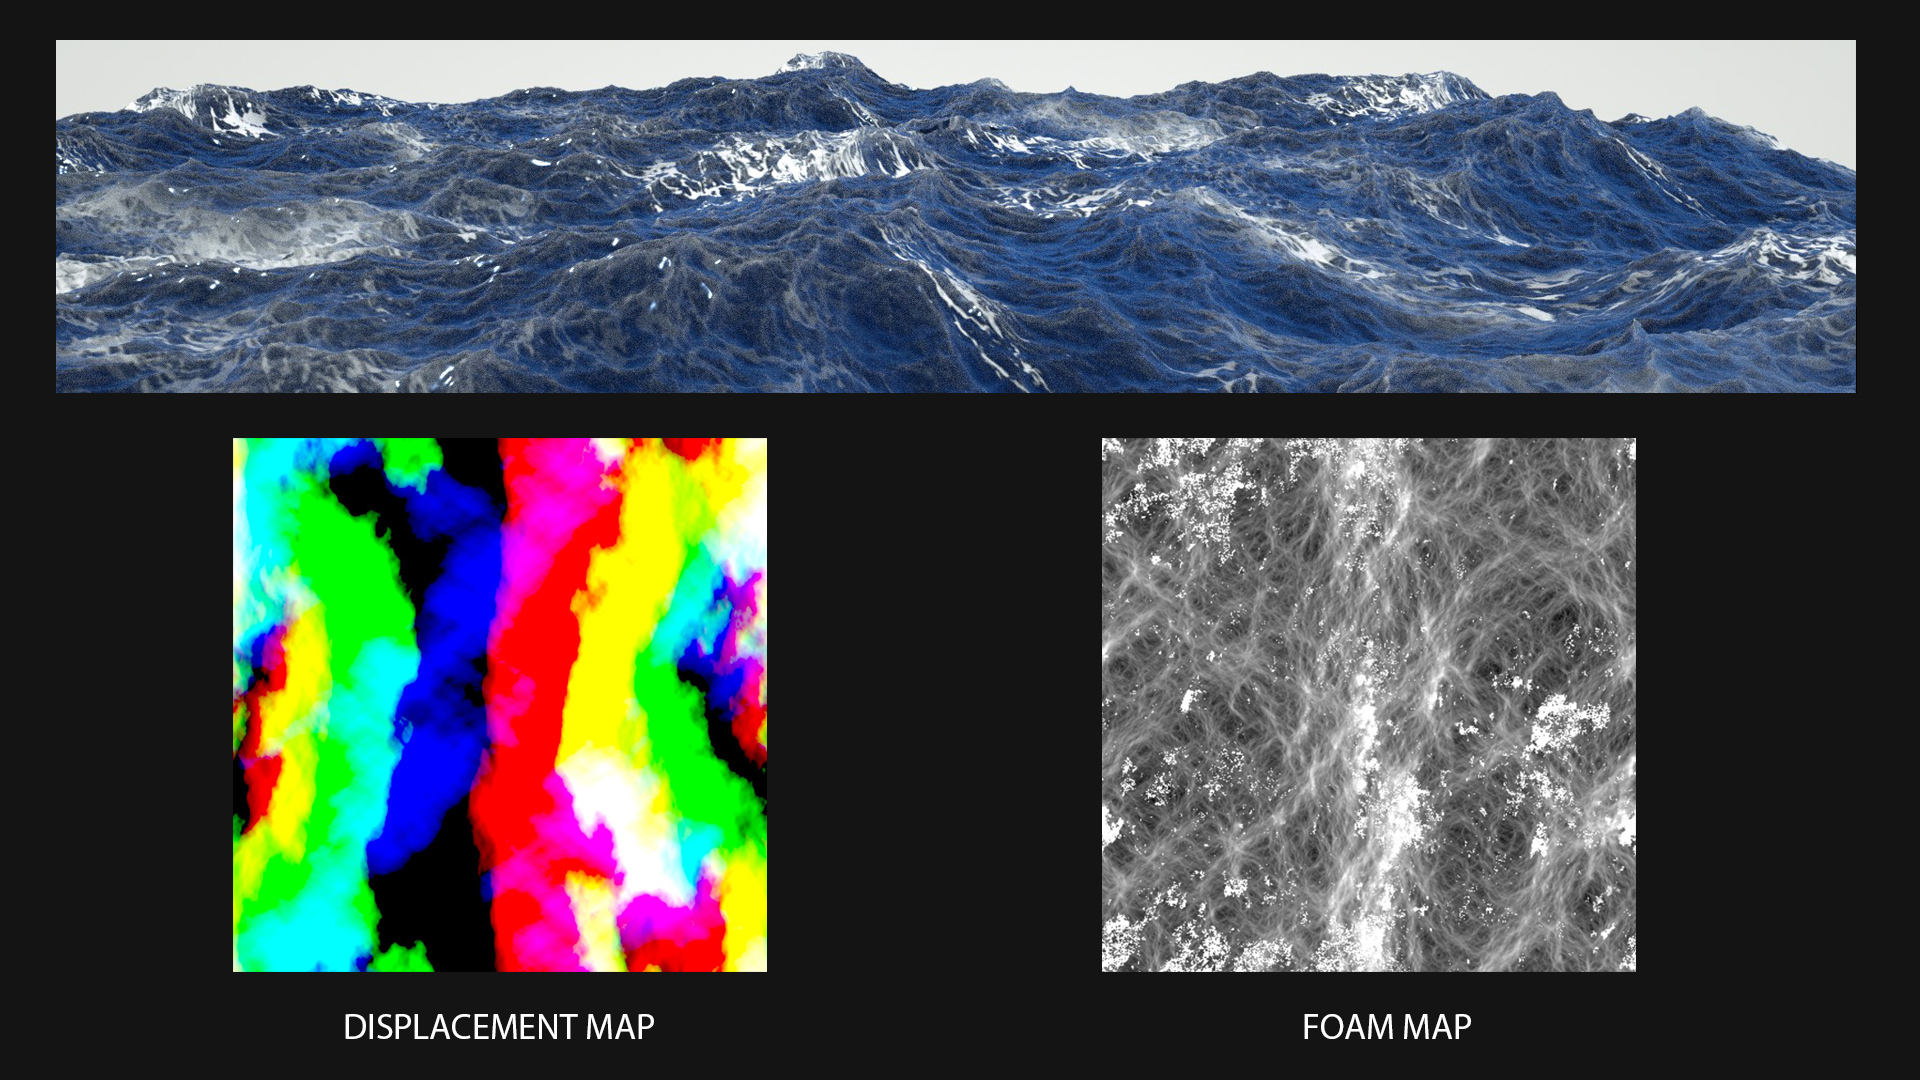
Ocean was done using ocean modifier in Blender. I baked an image sequence in EXR, and used these images to do the wave displacement and foam.
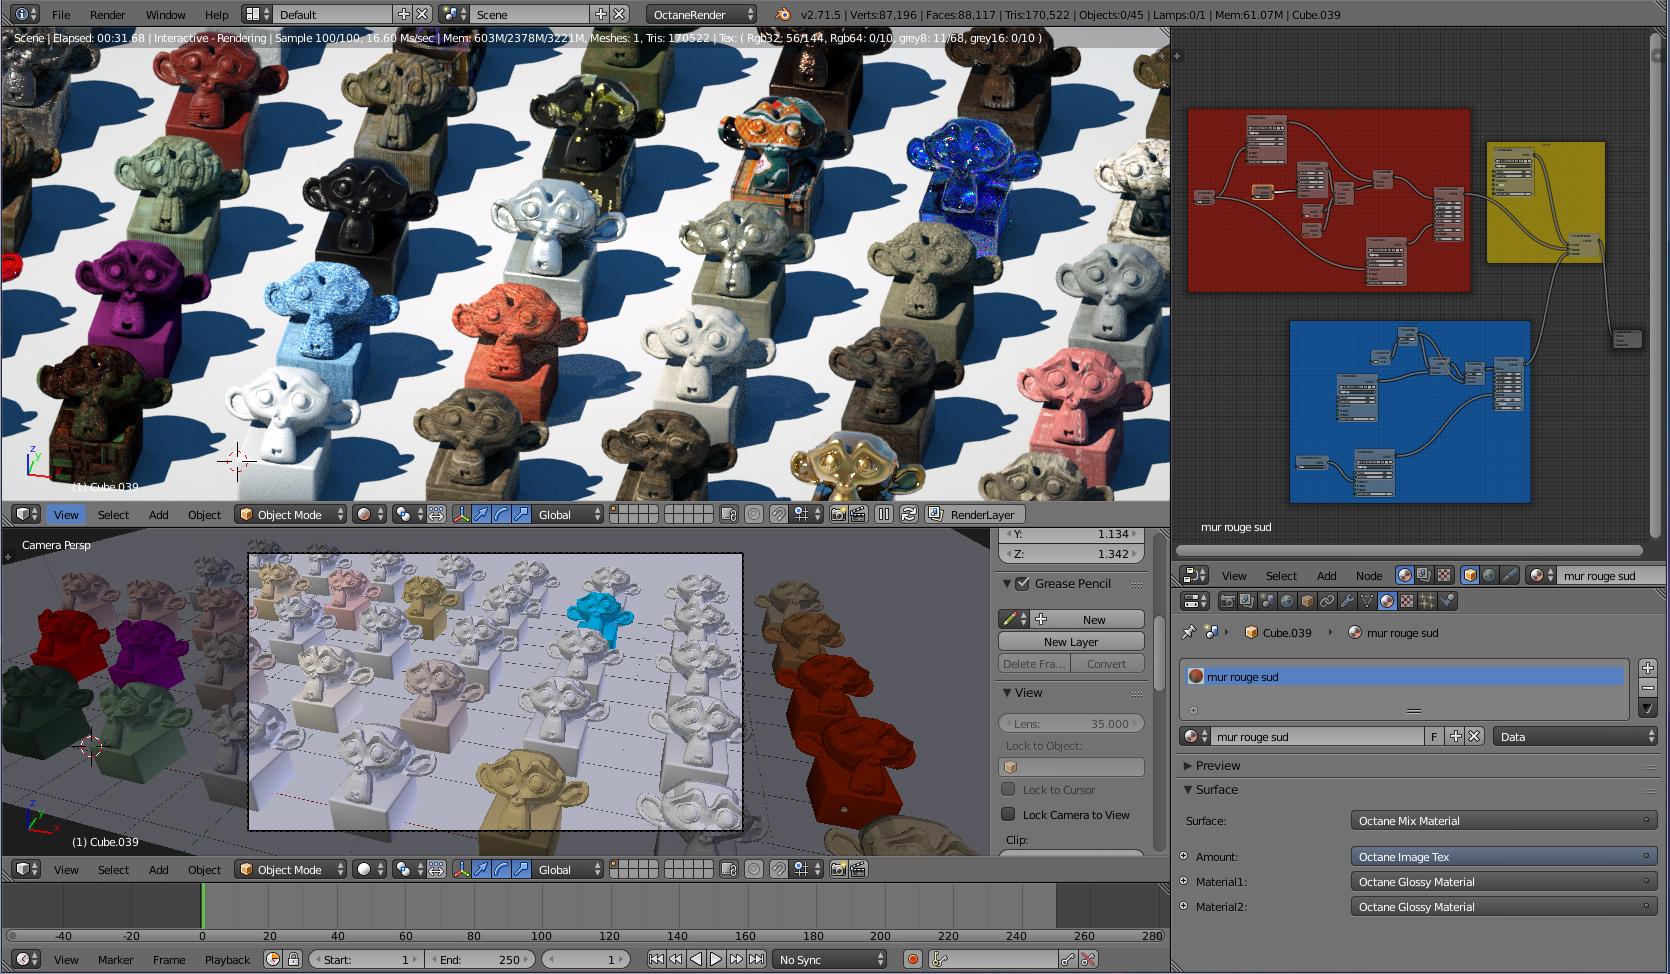
For rendering I used Octane since I wanted to try a new renderer for this project, but it could have been done using Cycles without any troubles. I rendered layers separatly: characters, sets, backgrounds and fxs. It was very good to have rendered things separatly: the render is more fast, you can have more bigger scene with more polys, and mostly, you can render again a part, if necessary (and it was very often the case) without to render the whole image all over again. Renders were saved in PNG 16 bits for the layer color, and in EXR 32 bits for the Z layer pass. I also rendered some masks and ID mask. This allowed to correct details very quickly during compositing without having to render again the whole image. The rendering time for one frame was from 4 minutes to 15 minutes.
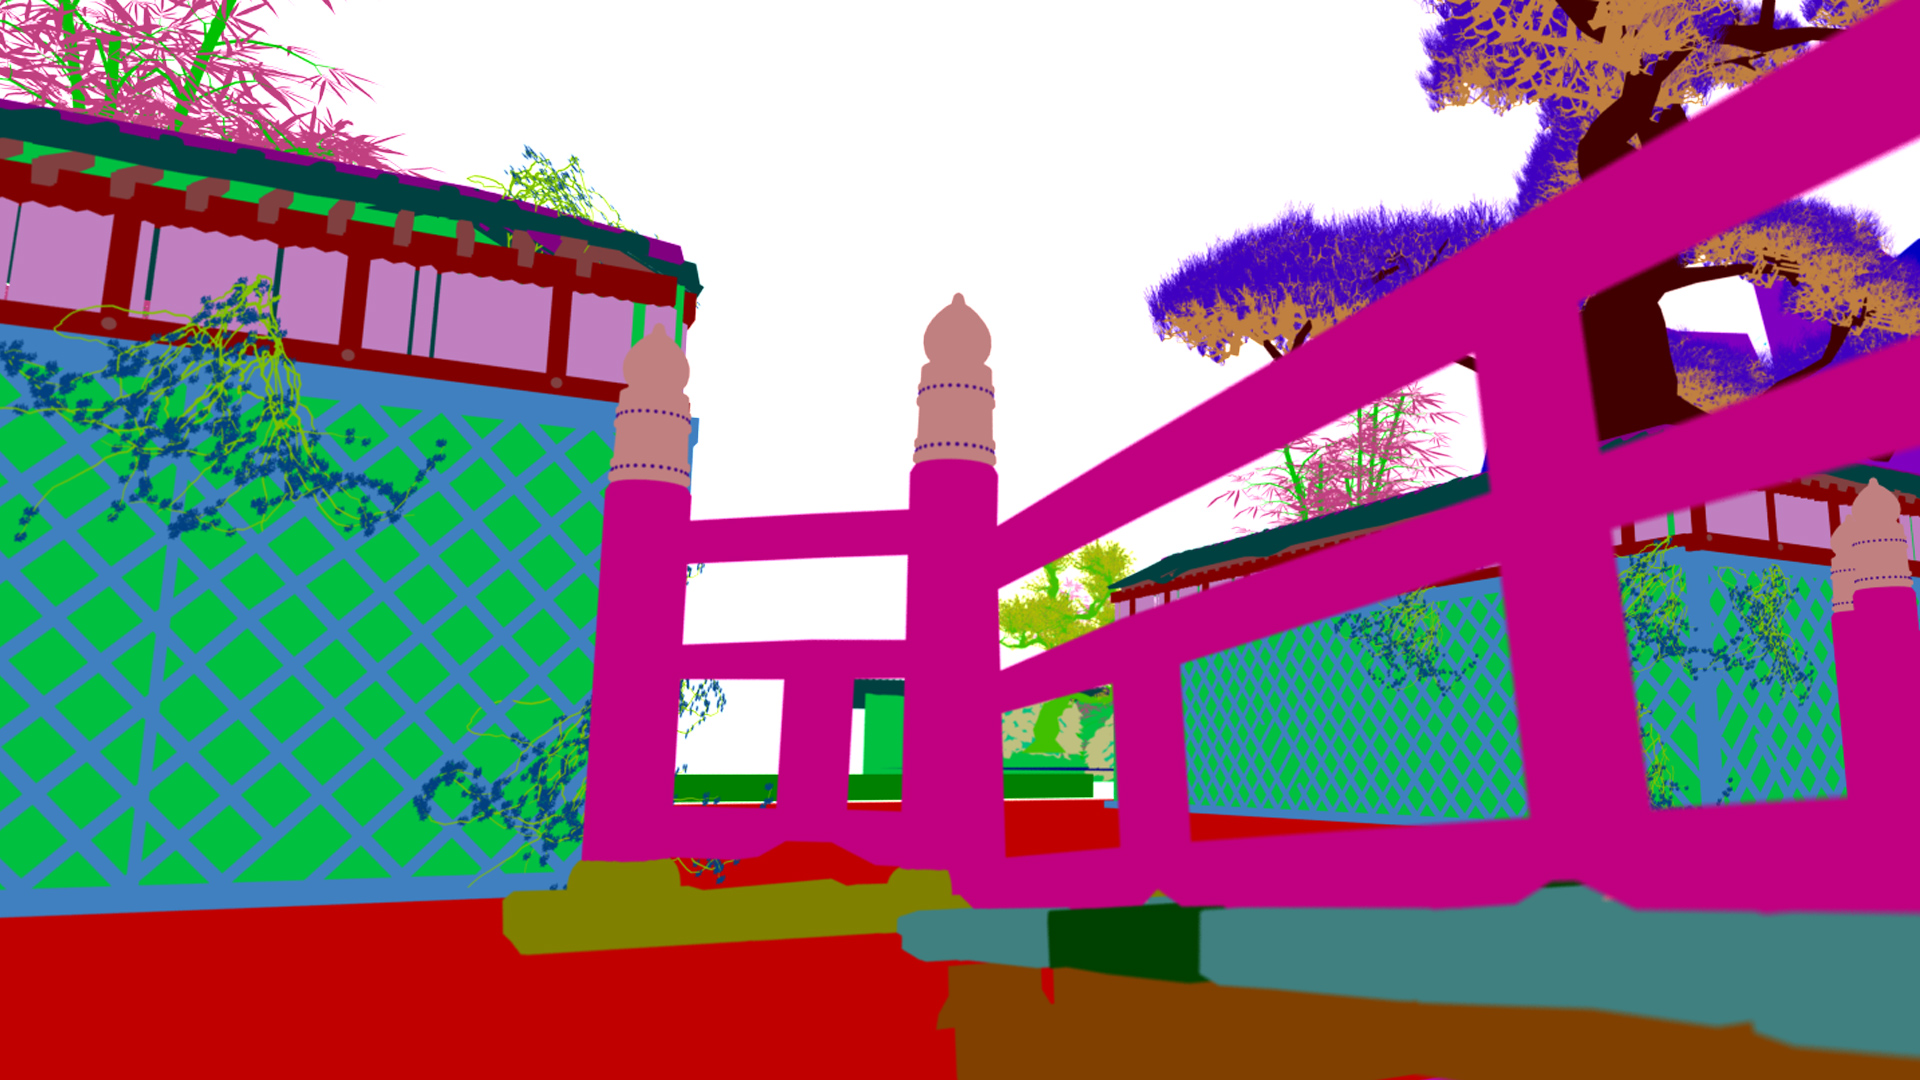
I finished the compo with Natron, added glow, vignetting, motion blur. The Z layer pass was used to add some fog, and ID mask to correct some objects colors. When you have a lot of layer pass from blender, it is very easy to do compositing and tweak things very quickly. I remember when I used to do everything in one single pass at the time. I did renders over and over to fixe errors and it was very time consuming. Sozap, a friend of mine and a very talented artist taught me to use separate layers. It was a really great tip and thanks to him I could work more efficiently.
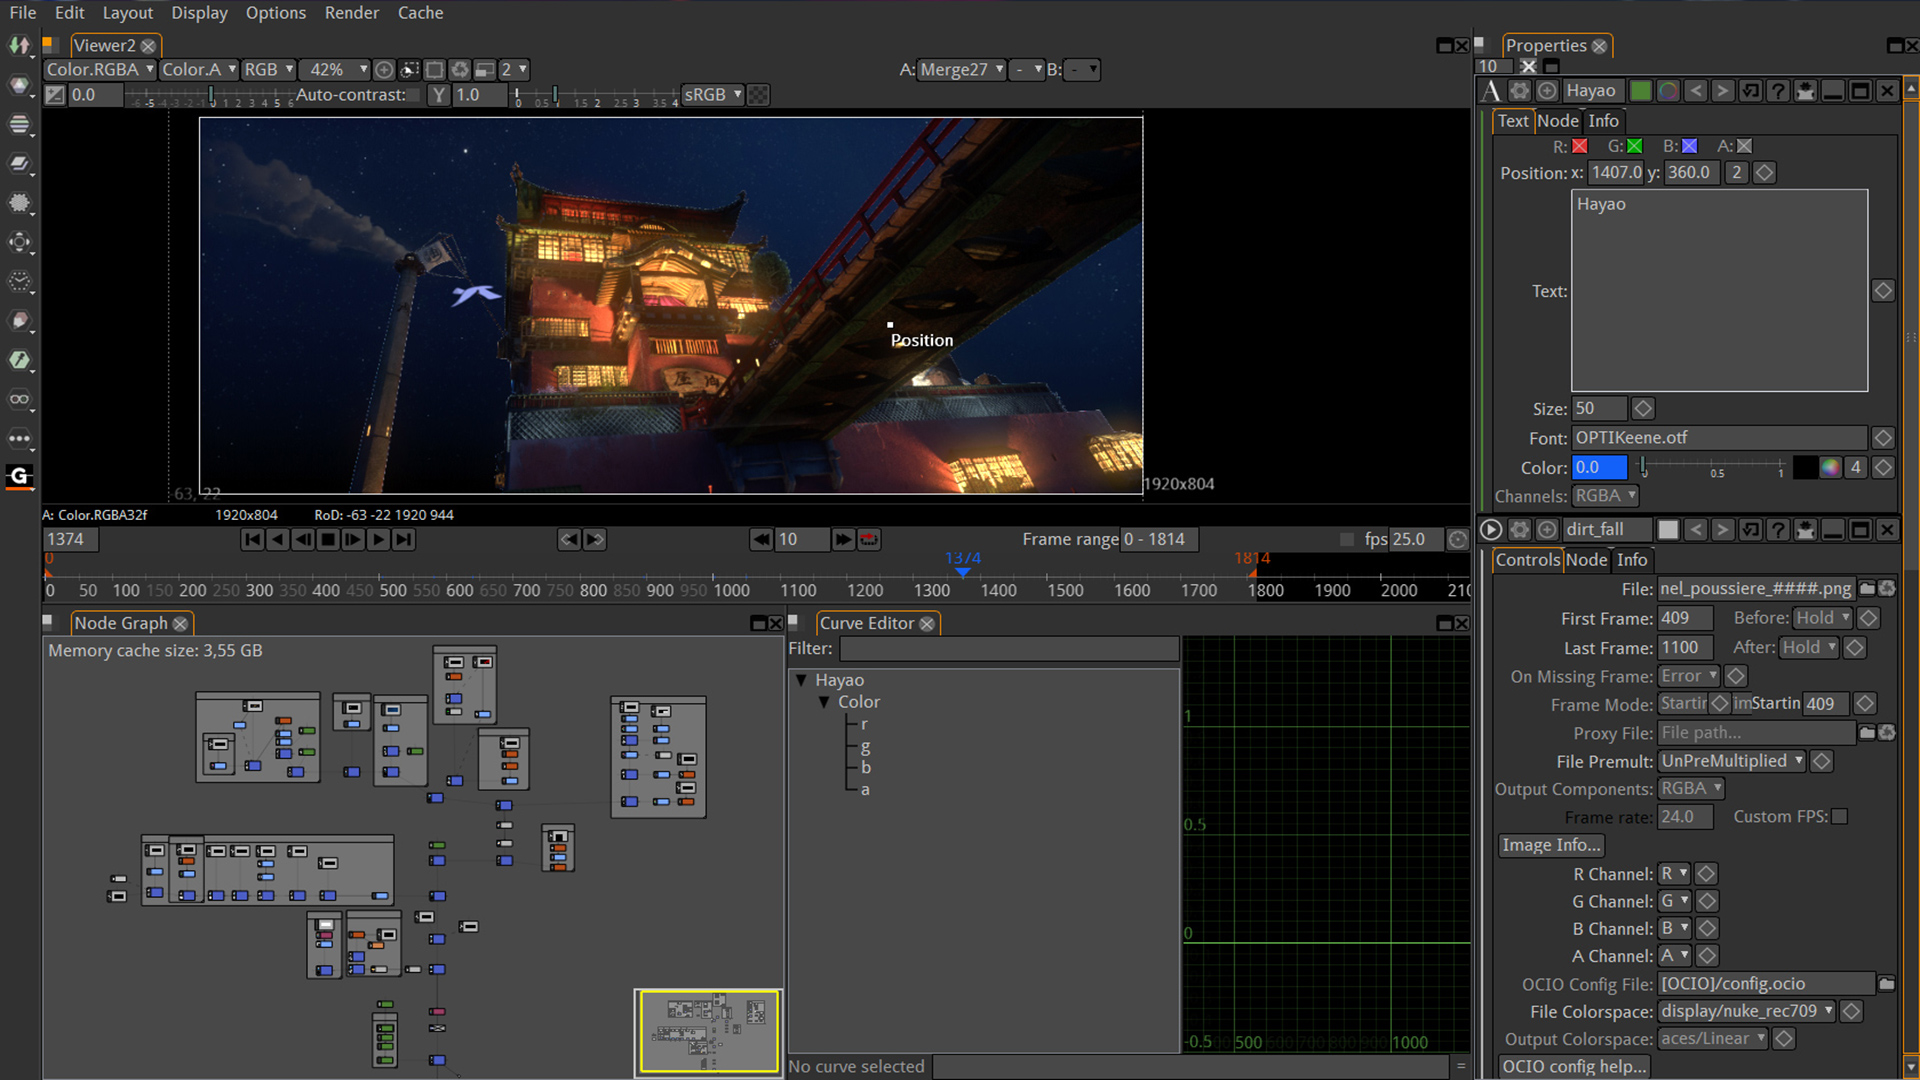
During the production, I showed wip to my friends, because they could provide a new and fresh look on my work. Sometimes, it is hard to have critics, but it is important to listen as they can help you a lot to to improve your work. Without critics, my short most certainly wouldn’t have looked as it does now. Thanks again to Blackschmoll, Boby, Christophe, Clouclou, Cremuss, David, Félicia, Frenchman, Sozap, Stéphane, Virgil! And Thanks to Ton Roosendaal, the Blender community, developers of Blender, Gimp and Natron!
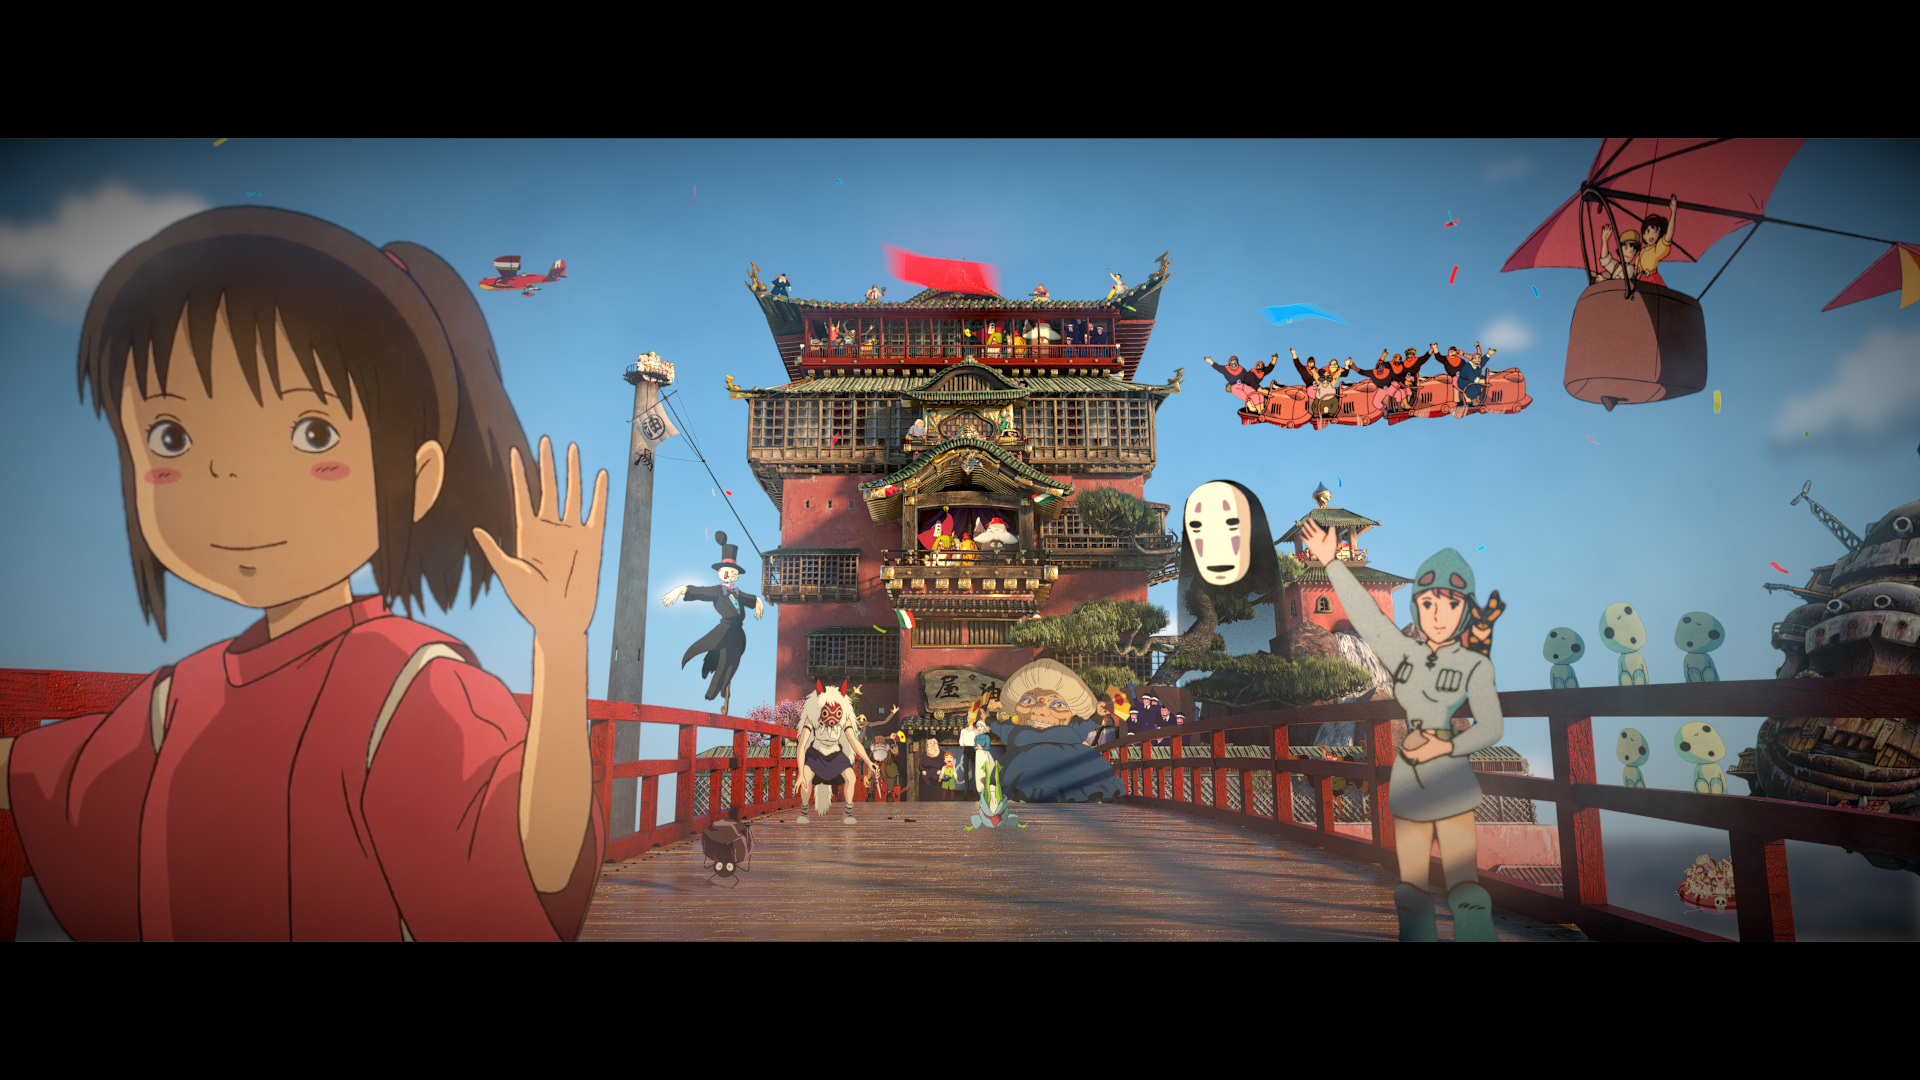
Check out the making of video!