New Cursor & Brush Settings
Assigns a factor to each vertex before starting the stroke. Topology automasking affects only vertices connected to the active vertex.
Keep an even distance between stroke points in 3D space. Great for sculpting near the edges.
Snaps the maximum strength of the grab brush to the highlighted active vertex, making it easier to manipulate low poly models or meshes with subdivision surfaces.
Control how sensitive the sculpt normal direction is to the underlying surface.
The cursor now is aligned to the surface normal, displays symmetry and a preview curve fall-off.
Displays the edges of the mesh inside the brush radius. This helps to visualize the real geometry the user is manipulating from sculpt mode when there are active modifiers.
Masking
Modifies the whole paint mask. In includes multiple operations like smooth, grow or contrast accessible from a pie menu.
Similar to Dirty Vertex Colors, but it generates a paint mask. It can be used to mask cavities in the sculpt.
Creates a mask from the active vertex to the vertex under the cursor based on topology or mesh curvature.
Extracts the paint mask to a new mesh object. It can extract the paint mask creating a boundary loop in the geometry, making it ready for adding a subdivision surface modifier.
New Tools
Pose a model simulating an armature-like deformation. The pivot point for rotation is calculated automatically based on the radius of the brush and the topology of the model.
Based on Pixar's paper Regularized Kelvinlets:
Sculpting Brushes based on Fundamental Solutions of Elasticity, this tool lets you grab, biscale grab, triscale grab, scale and twist operations while preserving volume.
Use the familiar transform tools now also during sculpt. Transforming around a pivot point and taking into account symmetry.
Similar to the draw brush, but it deforms the mesh from the original coordinates. When used with the sharper curve presets it has a much more pleasant crease/cut behavior than any of the other brushes. It is useful for creating cloth wrinkles, stylized hair or hard surface edges.
Applies a deformation to all vertices in the mesh at the same time. It includes multiple deformation modes and the option to lock the deformation axis.
Quickly create a new quad mesh based on the volume of the mesh. It is particularly useful for sculpting, to generate a good topology when blocking shapes, as an alternative to dynamic topology without the performance cost of continuous updates.
Creates a quad mesh with few poles and edge loops following the curvature of the surface. This method is relatively slow but generates higher quality for final topology.

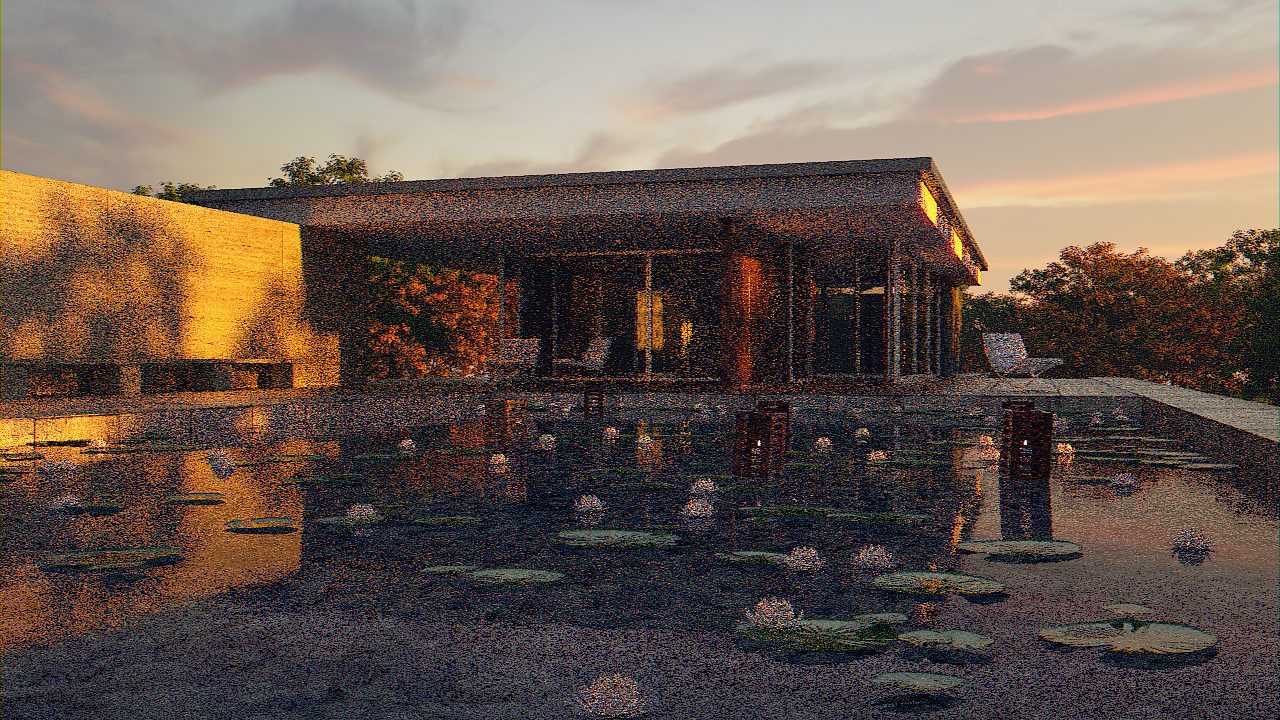
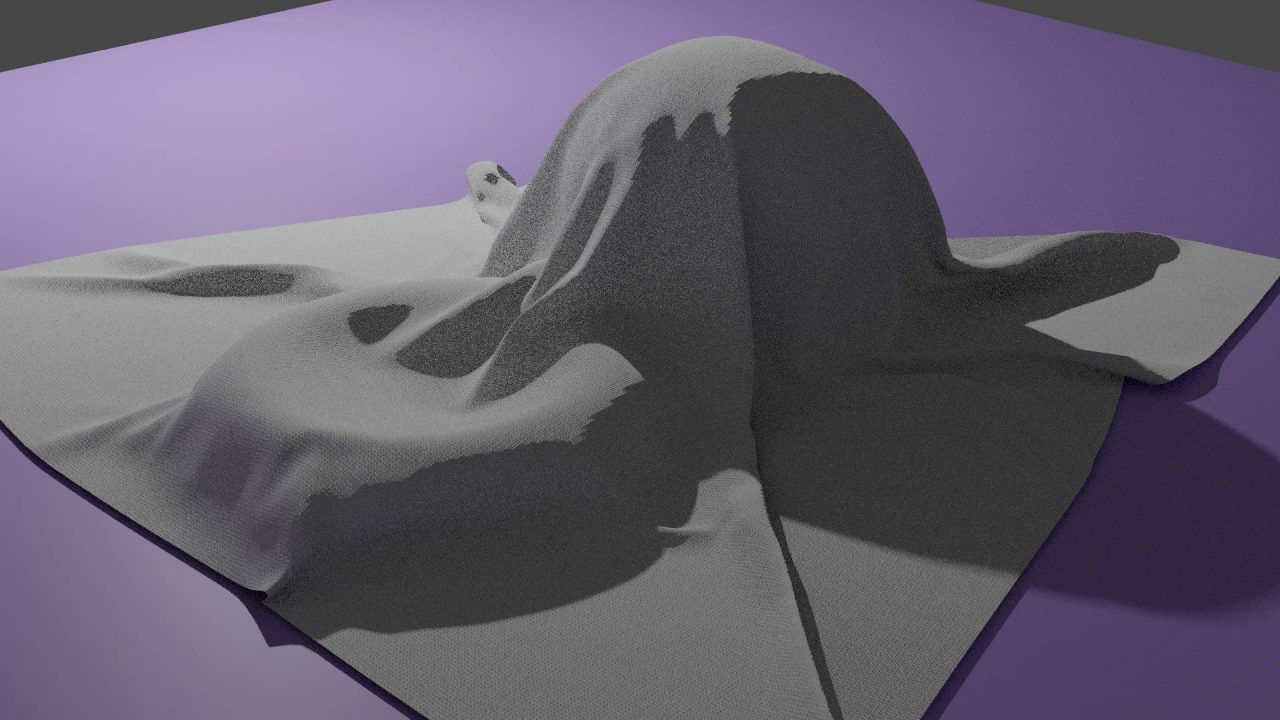
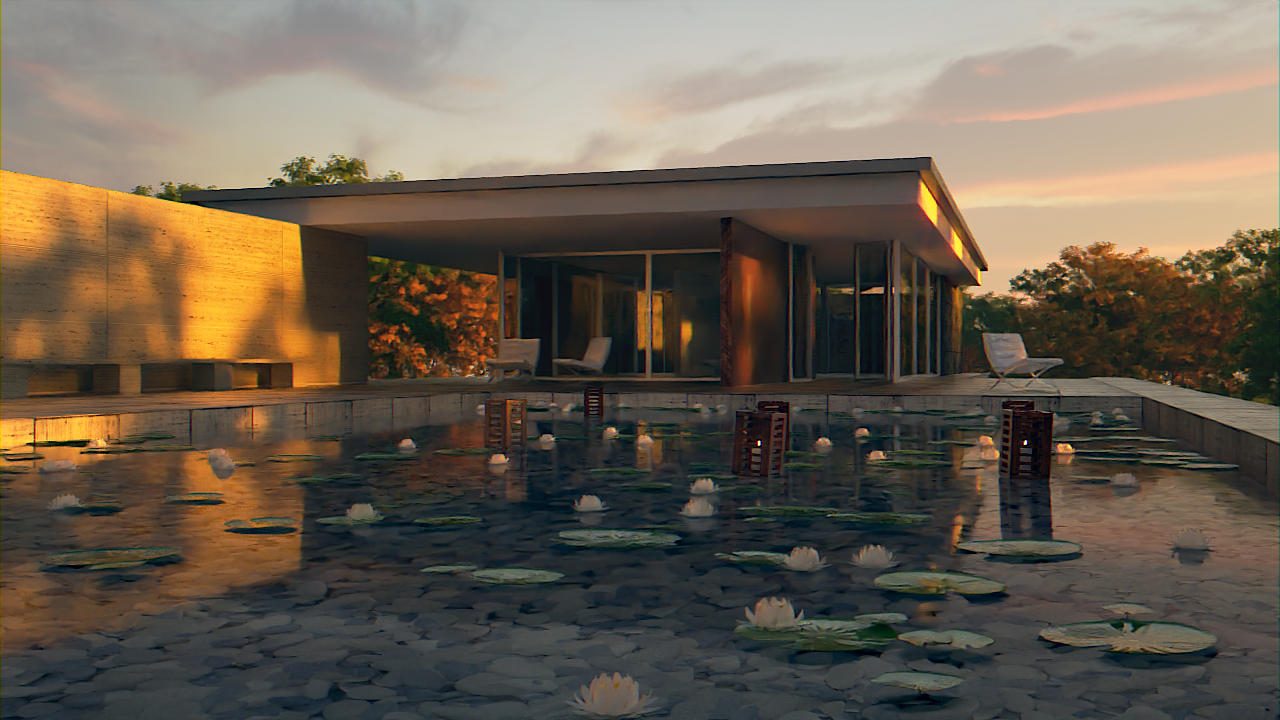
Compared to the existing denoiser, it works better with more complex materials like glass, and suffers less from splotchy artifacts. It also gives better results with very low numbers of samples, which can be used for quick previews.
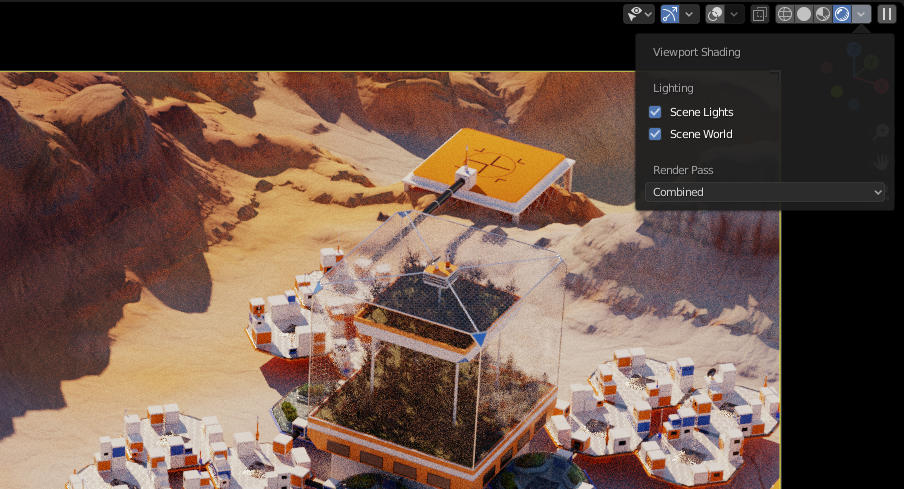
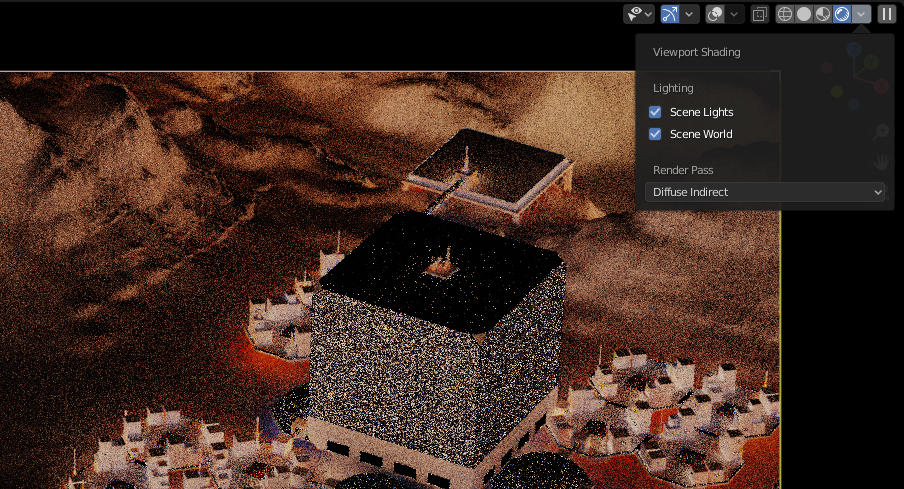
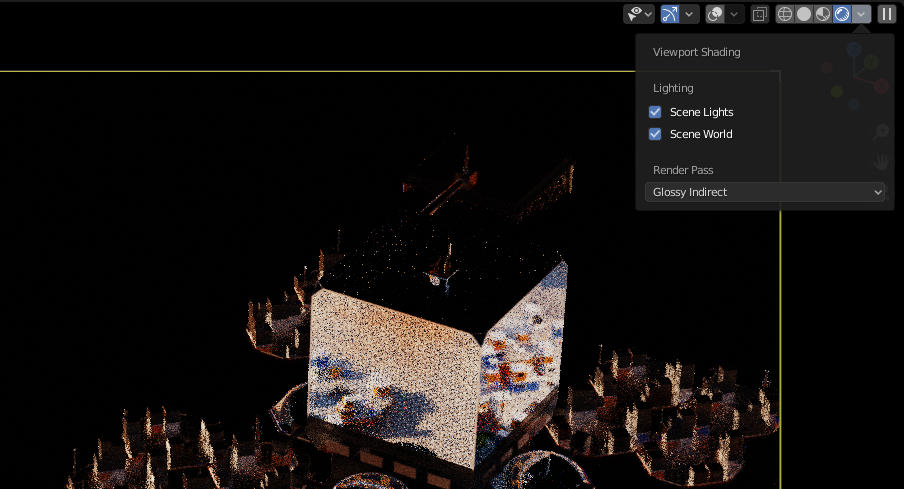
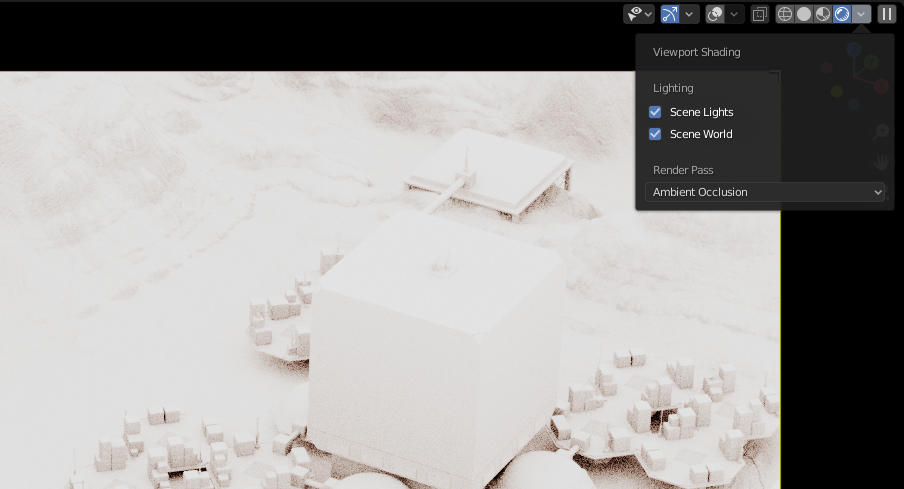
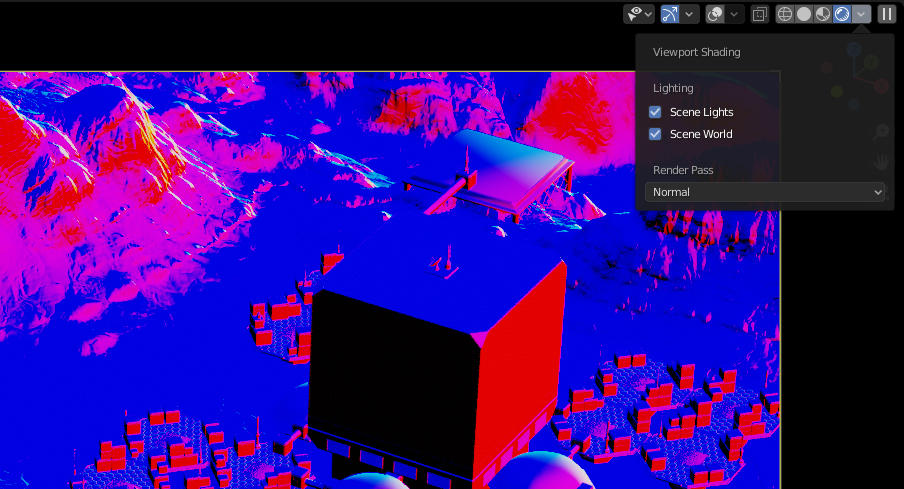
Preview Passes in the Viewport
Pick which pass to see while in Rendered shading mode.
Massive improvements on Shader nodes for Cycles & EEVEE.
For convenient access to Color, Density, Flame, and Temperature attributes of smoke domains.
For convenient access to Vertex Colors and their alpha channel.
Linearly remap a value from one range to another.
Produces a random number based on input values.
Clamps a value between a maximum and a minimum values.
New operations and dynamically show number of inputs depending on the operation.
Location, rotation and scale are now node inputs that can be linked to other nodes.
Support for 1D, 2D, and 4D textures. Plus more feature types.
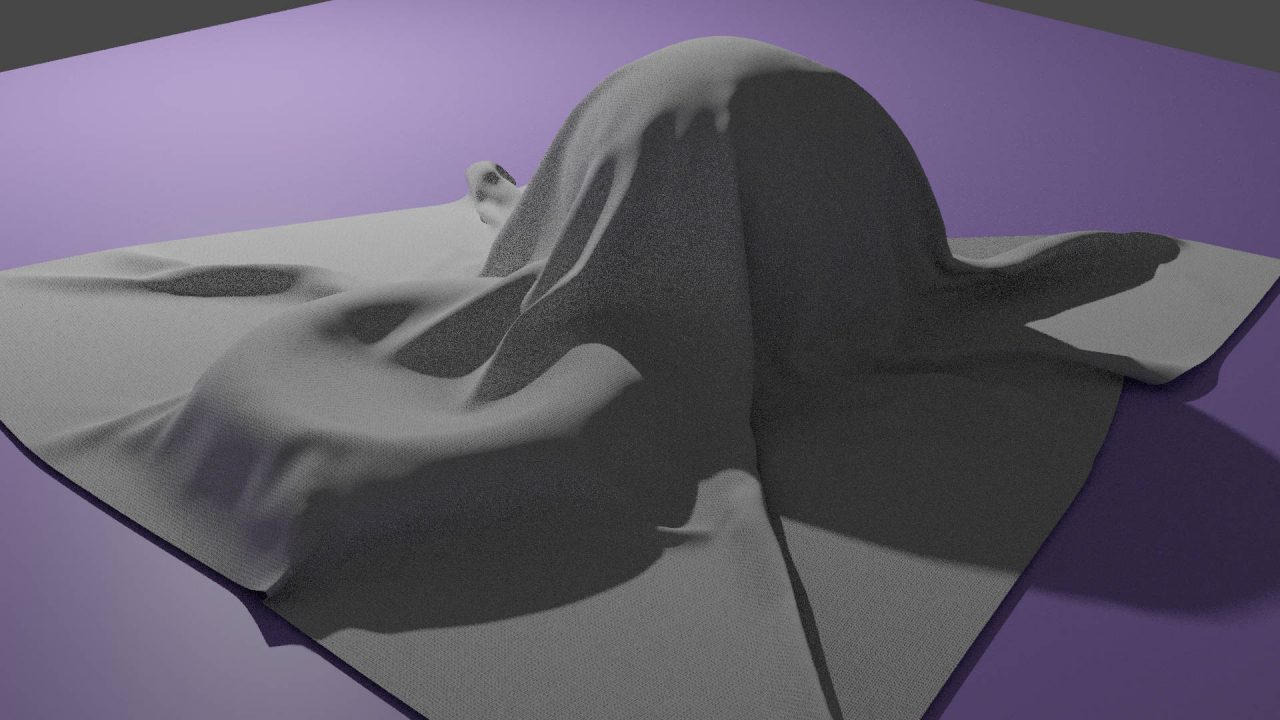
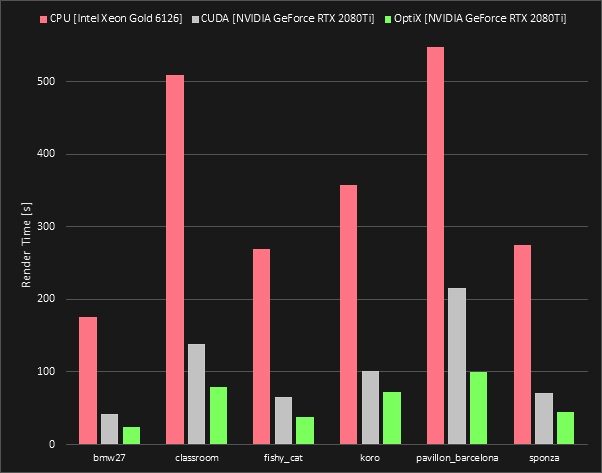
The OptiX backend was contributed by NVIDIA.


After making its debut in Blender 2.80, the real-time render engine got major optimizations and new features in this release.
- Soft Shadows have been completely rewritten to be easier to setup, look and match Cycles better.
- Volumetrics are now faster to compute on modern GPUs.
- Bump mapping gives more accurate results closer to Cycles.
- Support for instanced lights and shadow casters.
- Contact shadows now follow the light shape.
- Sun lights now have their clip distances automatically computed.
- Holdout is now supported with both opaque and semi transparent surfaces.
- Transparency handling has been reworked and now supports the same BSDF combinations as Cycles.
New brushes, improved stroke quality, new tools and performance improvements.
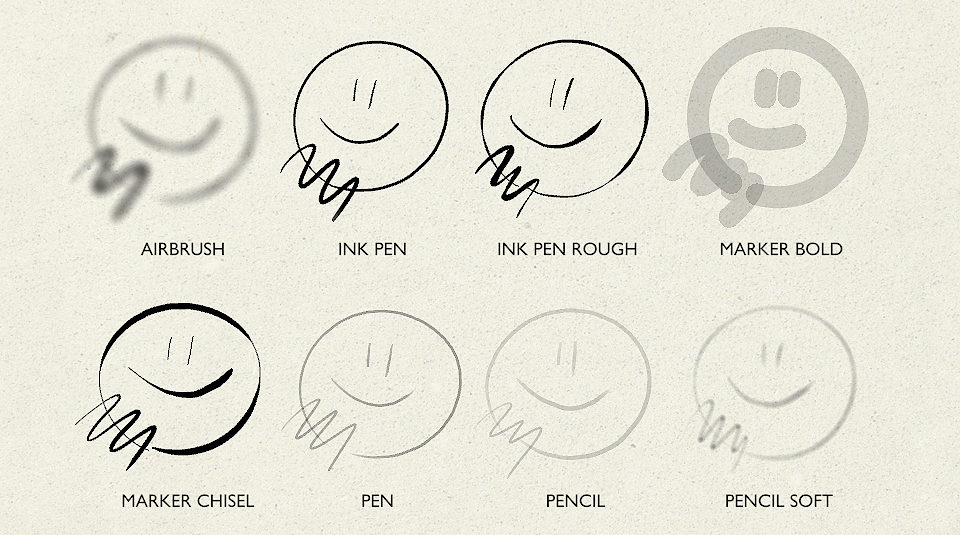
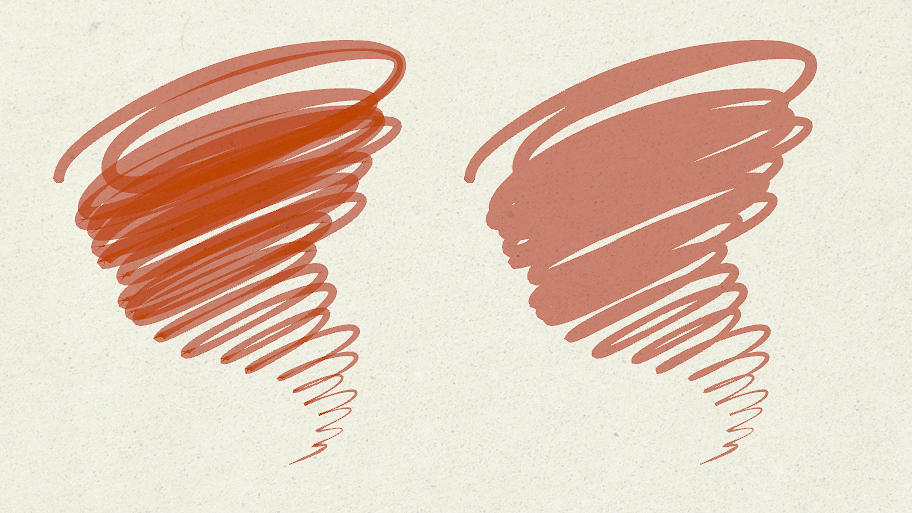
A new option in materials to disable the stencil effect on strokes.
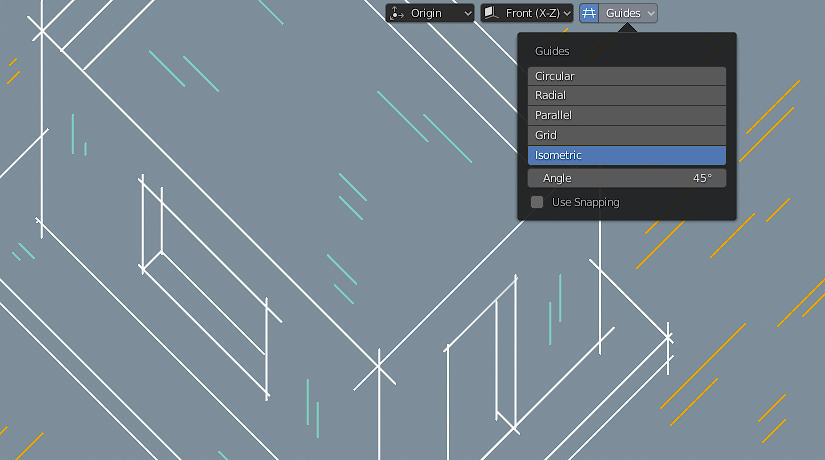
New isometric grid option for lines specified by angle.
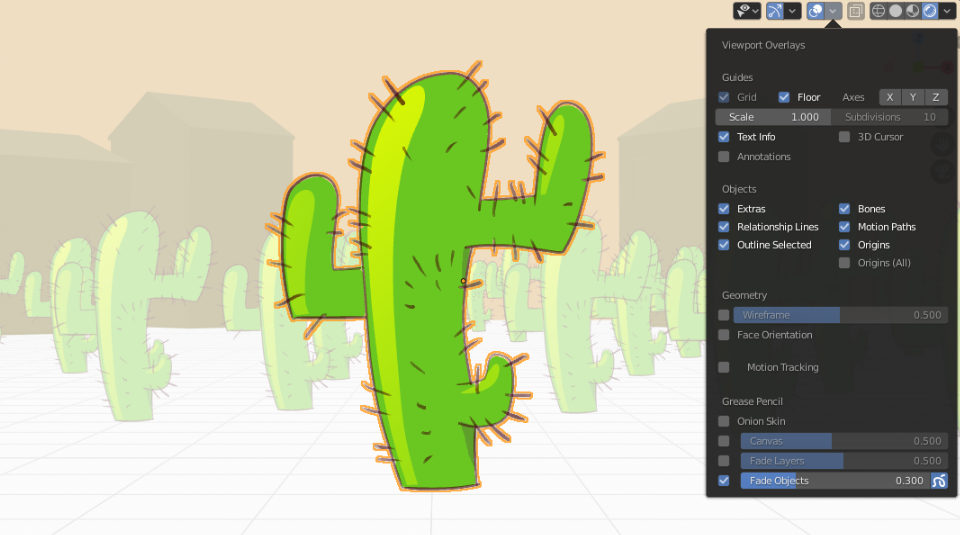
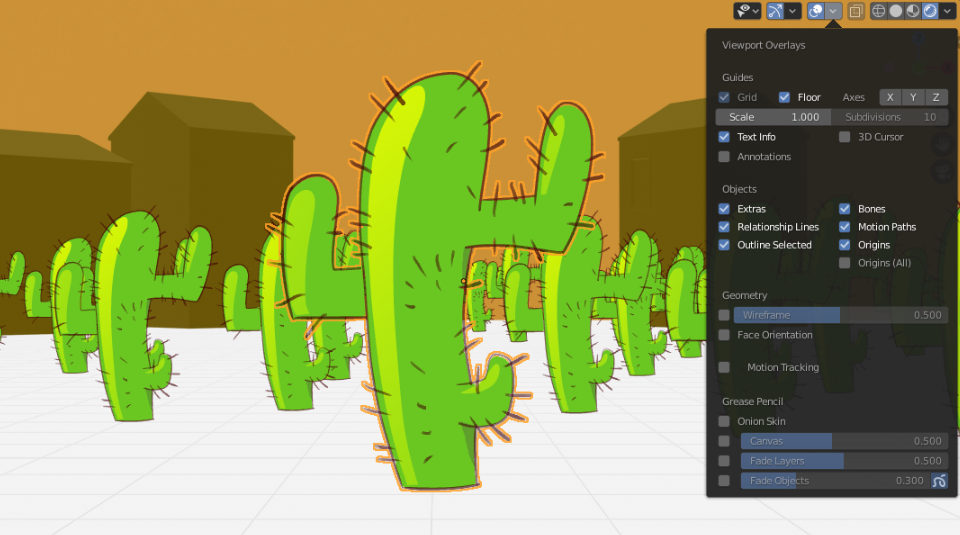
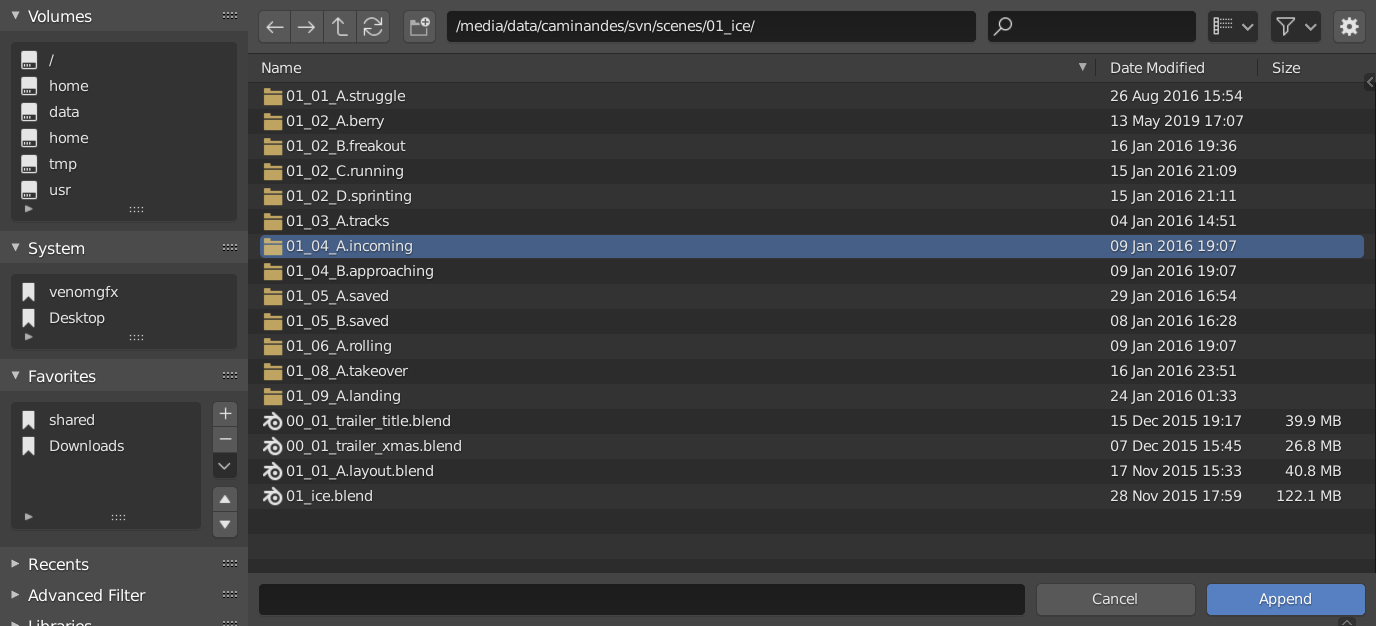
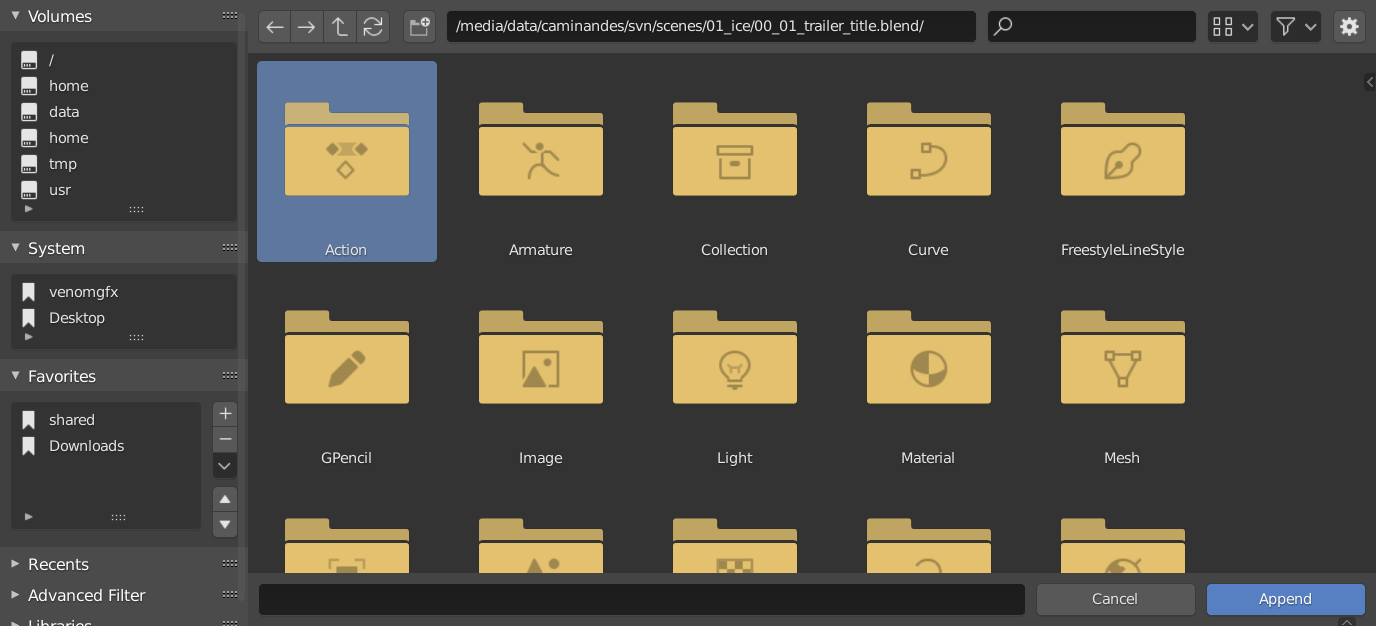
- Opens as floating window with more standard layout.
- Popovers for view and filter options.
- Reworked display of date and file size text.
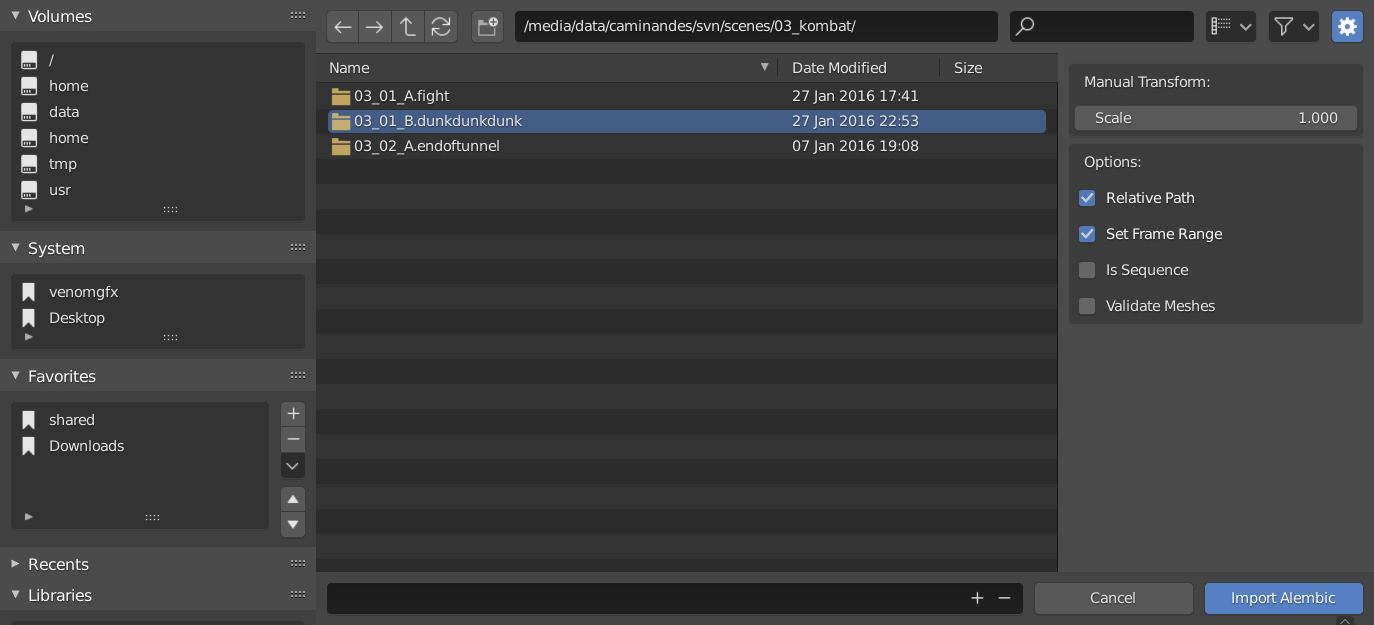
- Options now display on the sidebar, opened or closed depending on the task.
- Vertical list view with interactive column header.
- Deleting files will now move them to the system trash.
- New and updated icons.
- Some settings of the dialog are saved in the preferences, so reopening it will have them remembered.
- Preferences option allows using the File Browser in full-screen layout.
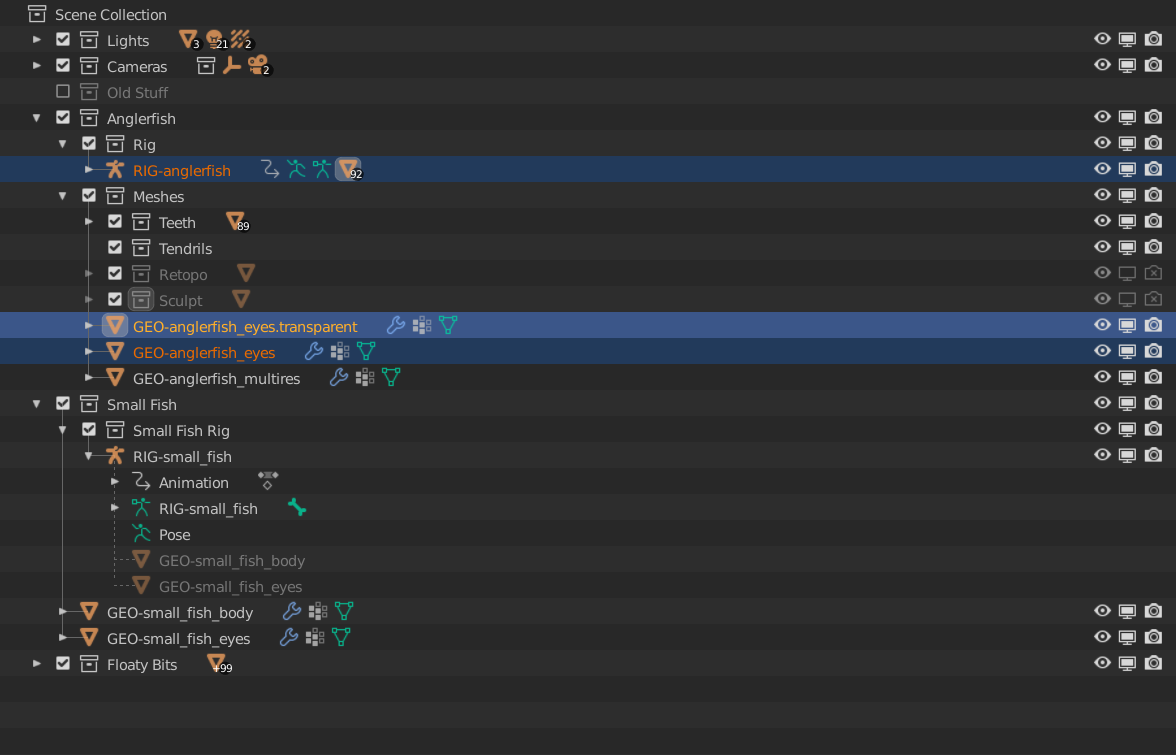
The outliner got a long-overdue pass on usability.
- Selection is now synced with the viewport
- Range selection with Shift+Click, extend selection with Ctrl+Click, and range select without deselecting with Ctrl+Shift+Click.
- Drag & Drop for parenting multiple objects.
- Navigate with Up and Down keys, expand/collapse with Left/Right, hold shift to apply recursively
- Box select with click and drag.
- Expand arrow click and drag to expand or collapse multiple items.
- Object selection with eyedropper now works in the outliner.
- Filter option to show hidden objects.
- F2 to rename active outliner element.
It's now possible to move object origins directly. This is an alternative method of adjusting the origin, previously only possible placing the cursor and setting an objects origins to the cursor.
Two new snap options have been added:
- Edge Center, to snap to the middle of an edge.
- Edge Perpendicular, to snap to the nearest point on an edge.
You can now transform parents without affecting their children.
For mesh editing and vertex/weight paint modes, mirroring now supports X, Y, Z and multiple axes simultaneously.
Poly Build Improvements
Blender 2.81 brings the poly build tool to a whole new level for retopology tasks.
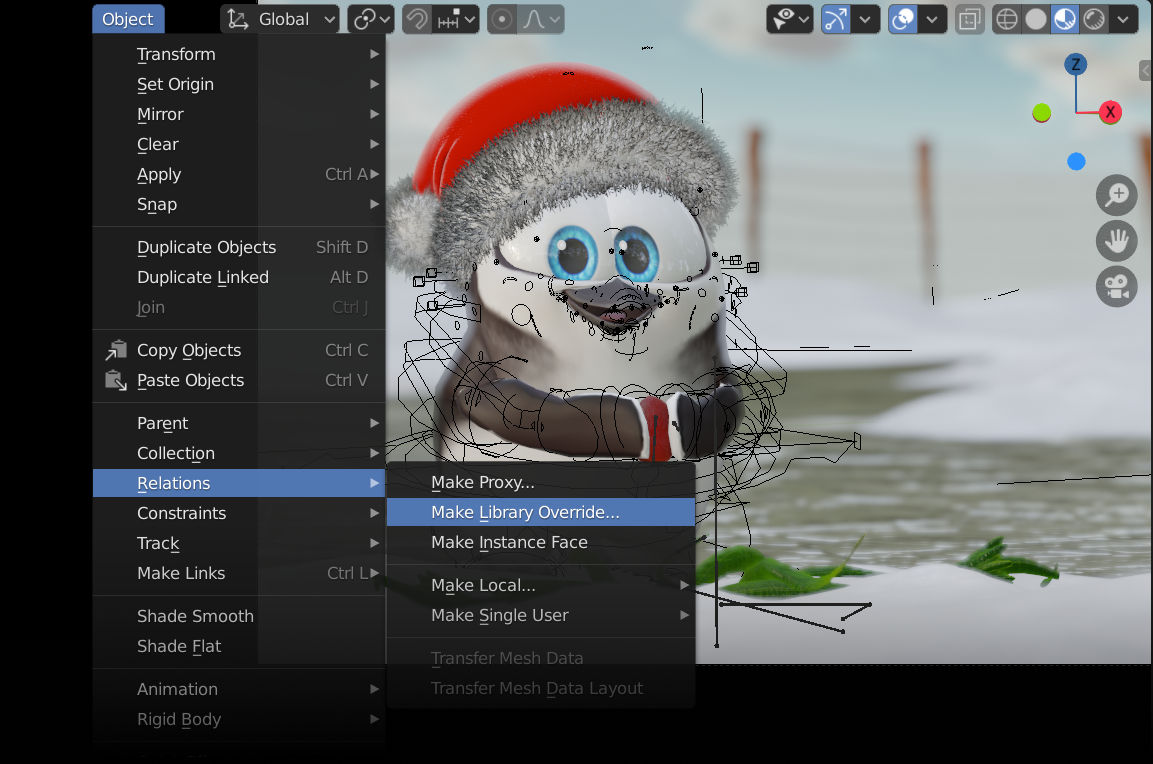
Library Overrides is the new system designed to replace and supersede Proxies.
Most types of linked data-blocks can be overridden, and the properties of those overrides can then be edited.When the library data change, unmodified properties of the override one will be updated accordingly.
Compared to proxies, library overrides support:
- Multiple independent overrides of the same linked data (i.e. link a character once, instance it multiple times!).
- Adding new modifiers and constraints, anywhere in the stack.
- Recursively chaining overrides (i.e. link and override overrides from another library file, etc.).
Each viewport can now have its own set of visible collections.
Workbench matcaps can now be OpenEXR images with separate diffuse and specular layers.
Mesh analysis overlay now supports meshes with modifiers, instead of only the original mesh.
Image objects can now be set to display only in side views for a better workflow when used as reference.
HDRI studio light strength can now be controlled in the shading popover.
Improvements were made to rendered preview so it supports turning off all scene lights and custom world HDRI, for look development (now also for Cycles!)
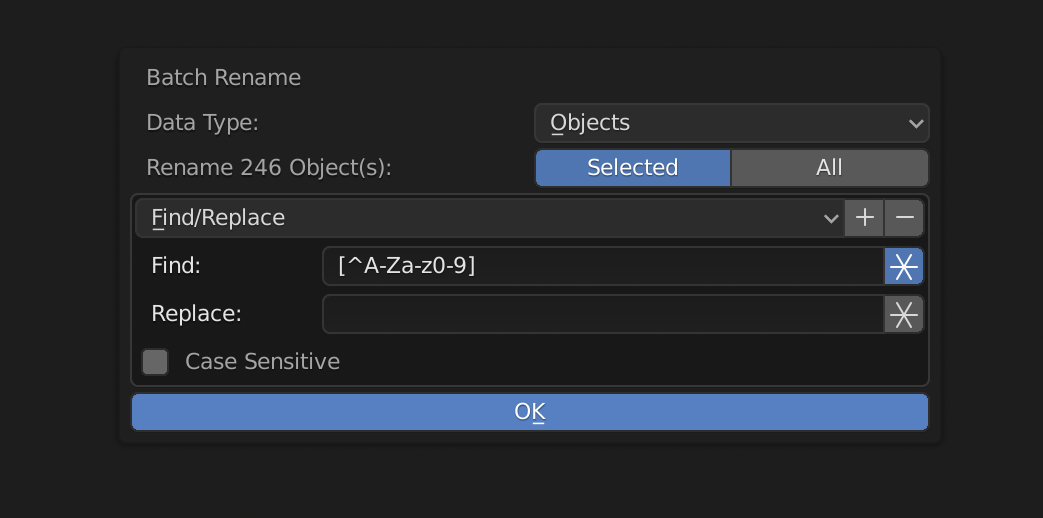
Where you could previously rename the active item with F2, you can now also batch rename all selected items with Ctrl F2.
- Find & replace with regular expressions
- Set prefix or suffix
- Strip characters
- Change capitalization
- Filter by data type
- Alembic
- WebM Support
- Custom Properties
- Selection Improvements
- Rigify Refactor
- New Cycles Nodes
- Copy As Driver
- Video Sequence Editor Prefetching
- Alpha Channel for WebM/VP9 Video
- Better Library Management
- glTF 2.0
- Add-ons Listing
- Preferences Improvements
- Python 3.7.4
- Opus Audio Support
- Import Images as Planes
- Fade Transitions in VSE
- FBX
- Python API Updates
- Keymap Changes
Follow the official hashtag for Blender stuff on social media #b3d
Blender Development Fund
The donation program to support maintaining and improving Blender, for everyone. Become a member for as little as €5 per month.
