Blender Foundation and the online developers community present Blender 3.4, featuring path guiding in Cycles, new sculpt and paint masking tools, Geometry Nodes viewport overlay, new UV Editing tools, improved performance and much more.
Released December 7th, 2022
WHAT’S NEW IN 5 MINUTES
CYCLES
PATH GUIDING
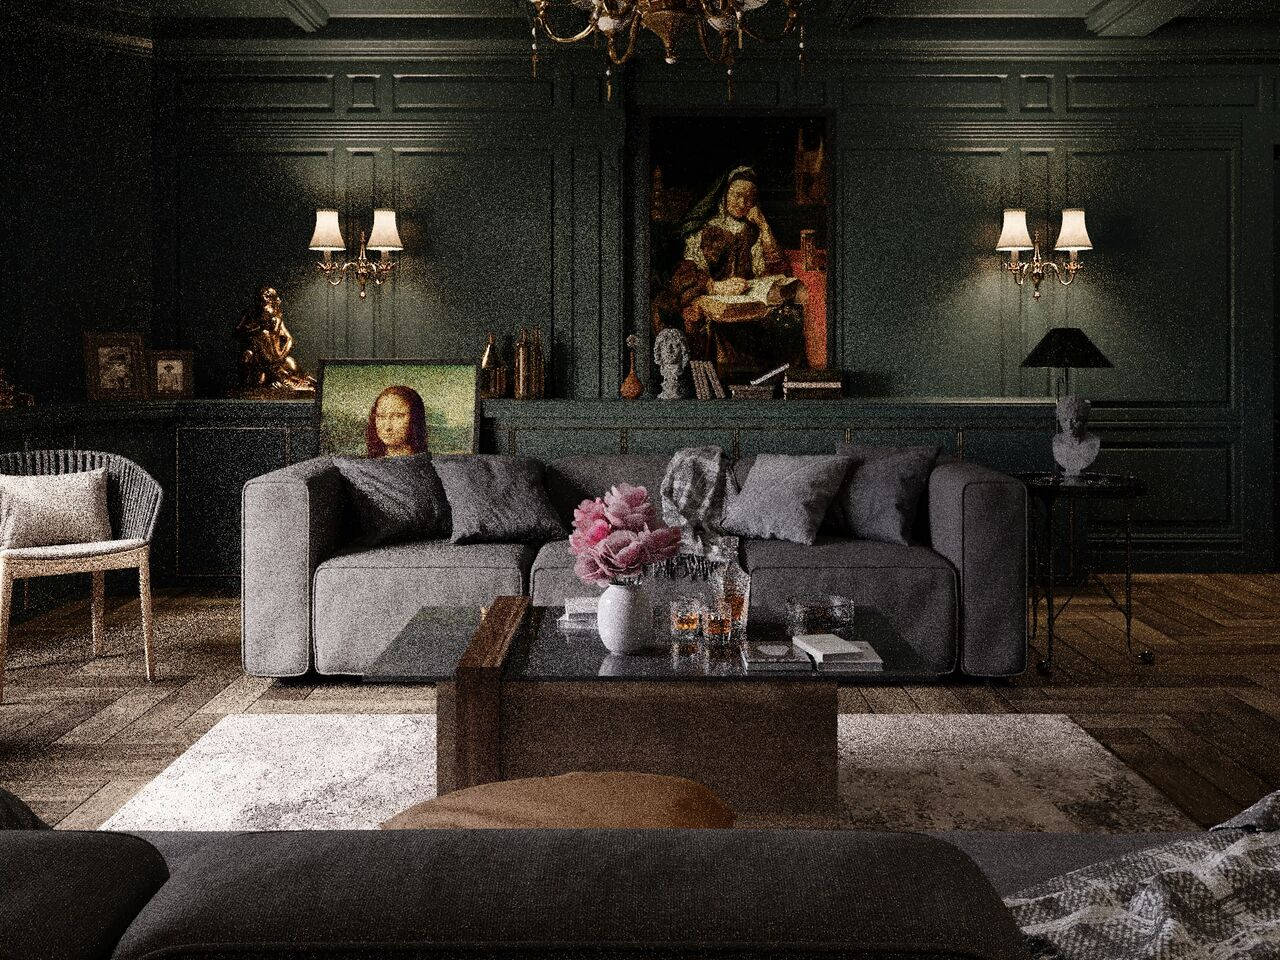
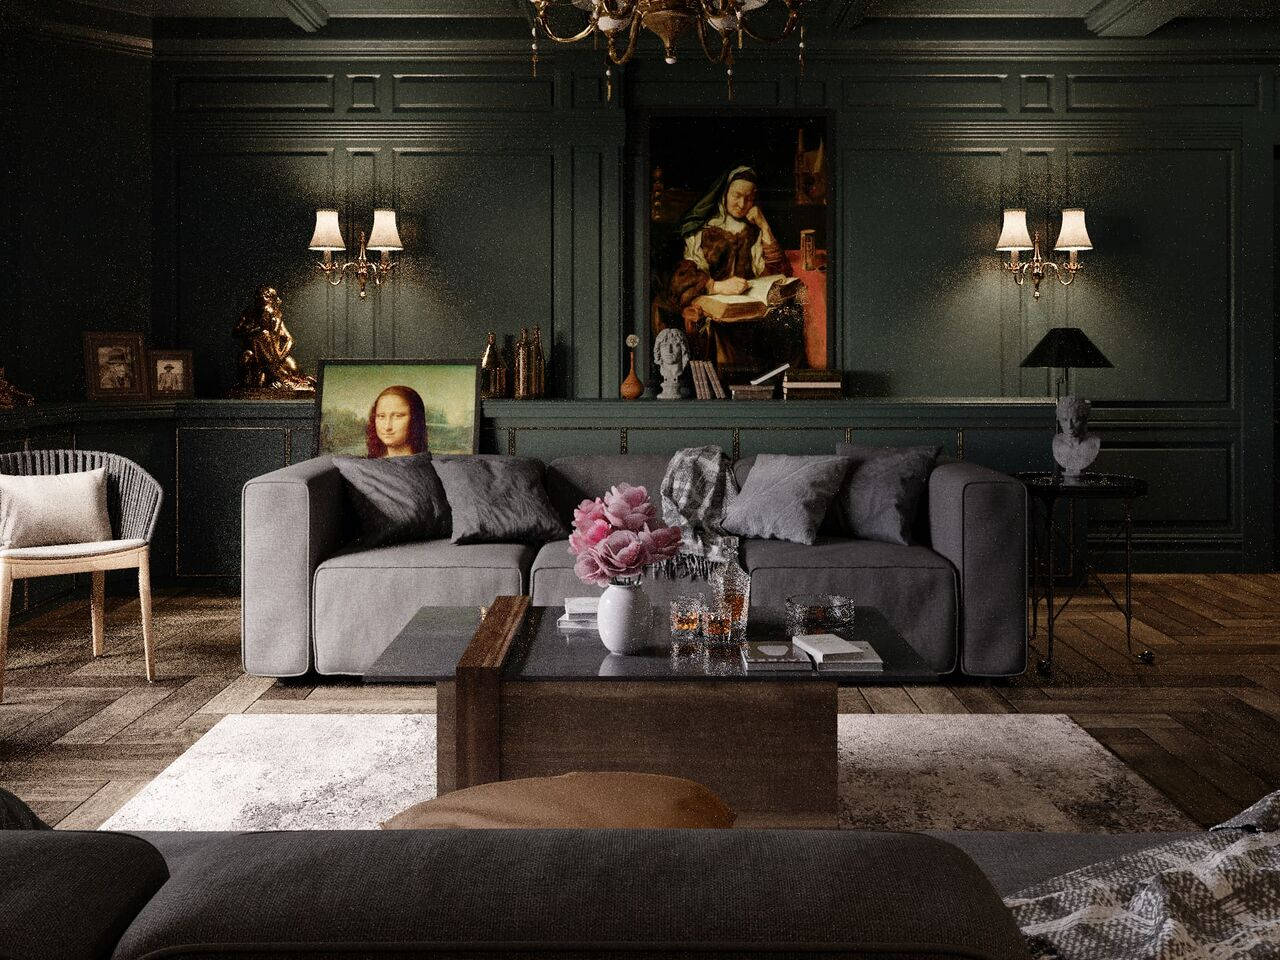
Blender 3.4 integrates Intel’s Open Path Guiding Library, adding support for path guiding in CPU to help reduce noise in scenes where finding a path to light is difficult for regular path tracing, for example when a room is lit by light coming through a small door crack.
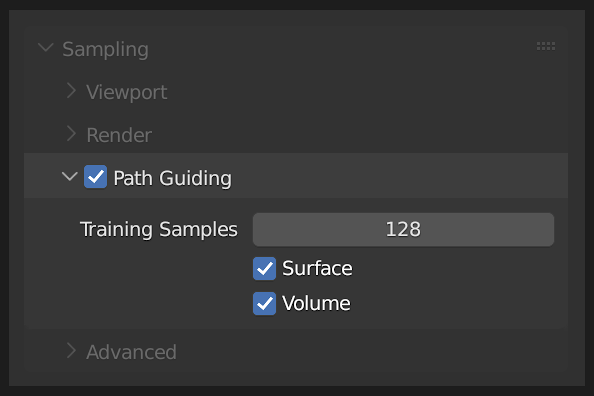
Guiding is supported for surfaces with diffuse BSDFs and volumes with isotropic and anisotropic scattering.
Important light directions are learned over time, improving as more samples are taken.
Find it in the Sampling panel in Render properties.
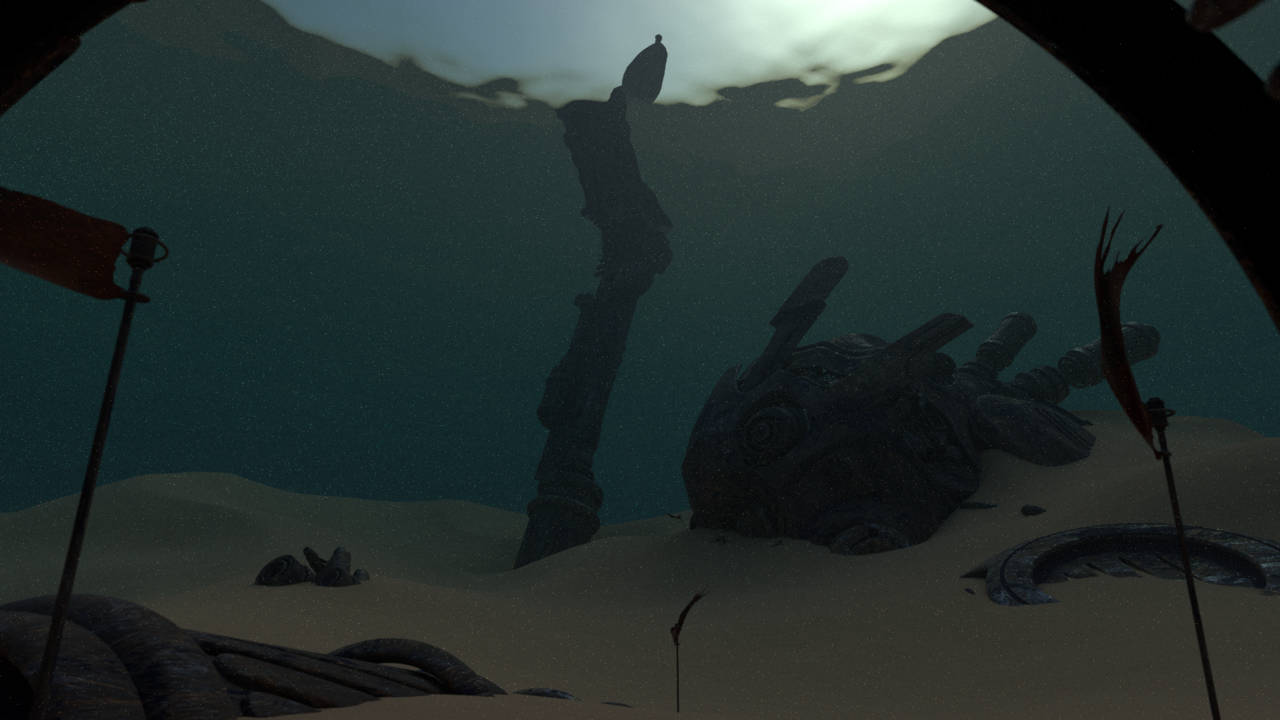
The following images took the same render time.
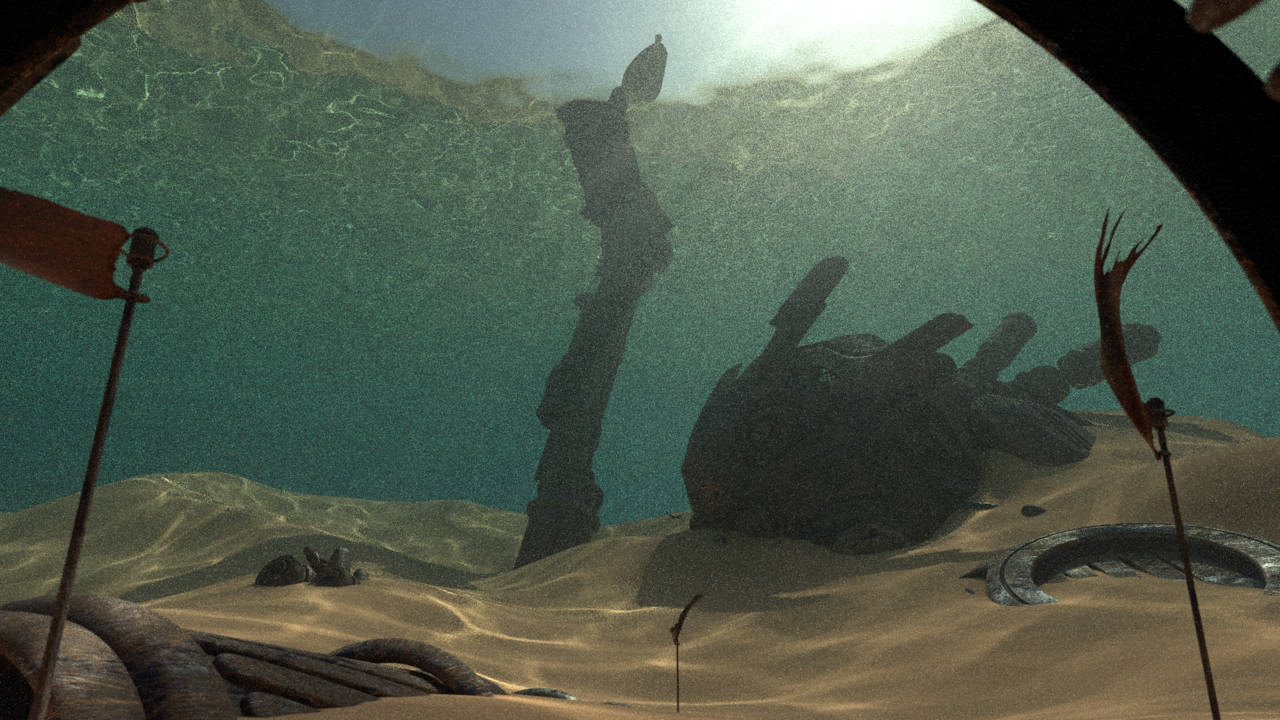
Note that while Path Guiding helps to render scenes containing simple caustics (e.g., water surface), it is not designed to be a caustic solver, such as MNEE, meaning it might not help render scenes containing complex caustics.
Same render time, with and without Path Guiding.
AND MORE CYCLES
- Intel Arc on Windows: upgrade to driver version 101.3430 or newer to fix user interface crashes
- For AMD HIP on Linux, upgrade to ROCm 5.3 or newer to fix issues with textures on Vega and RDNA1 graphics cards
- For Apple Metal, Intel GPU rendering is now supported starting with macOS 13
AUTO
MASKING
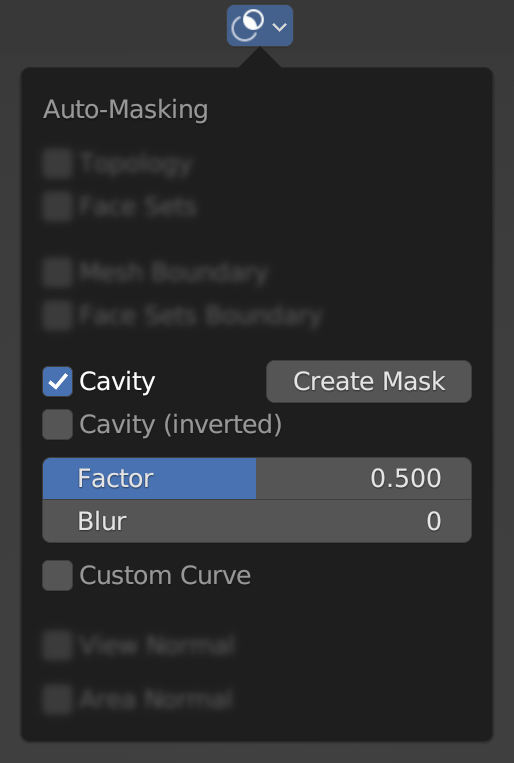
The auto-masking settings in Sculpt mode are now accessible from the header in the 3D Viewport.
New methods have been added for automatically masking by cavity, viewpoint, and area.
SO DEEP
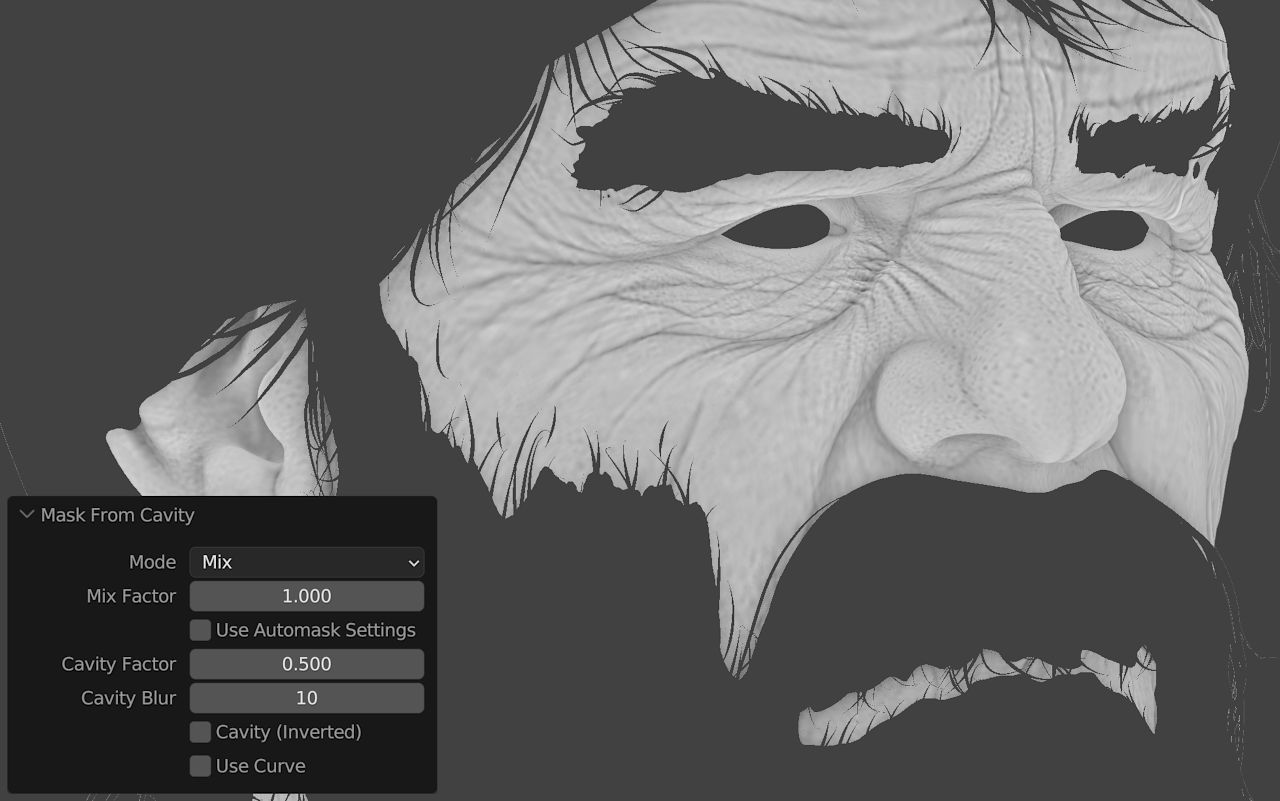
Instead of manually creating a cavity mask, this auto-masking option provides a faster way of painting and sculpting with Cavity.
Use the “Create Mask” button to convert the auto-mask into a regular mask attribute (to edit it further or just visualize it).


MASK FROM
CAVITY
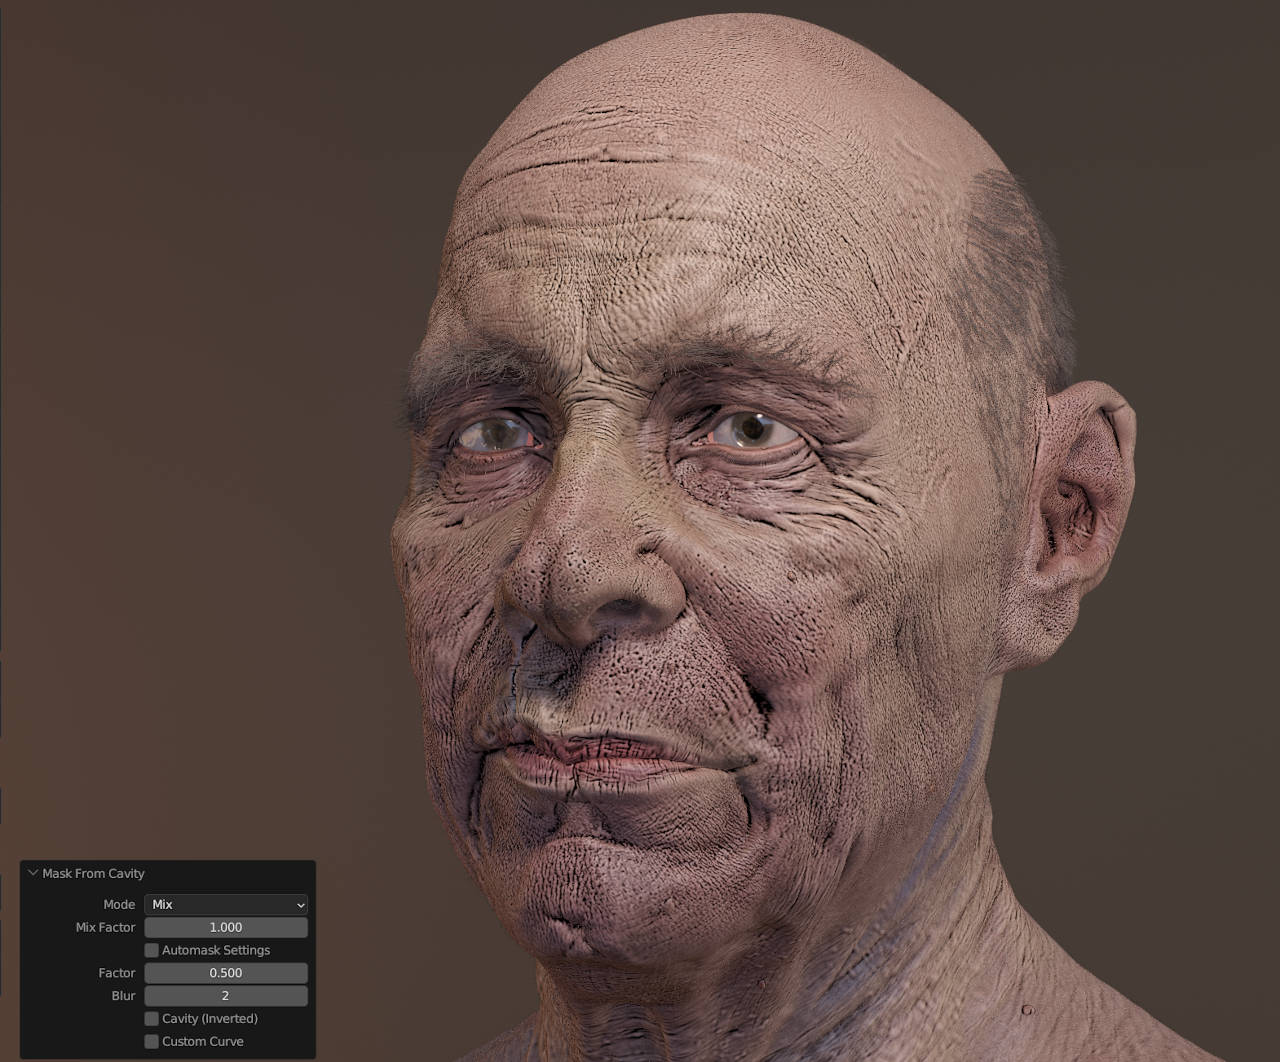
“Inverted”, “Factor”, “Blur” and a “Custom Curve” give extra control to fine tune the cavity mask.
AUTO MASKING
IN ACTION
Combine different methods to easily sculpt and paint little details.
Automatic mask based on the viewing angle.
Use the normal direction of the brush cursor from the start of the stroke.
Sculpt or paint in parts of the mesh sticking in or out.
AND MORE
- Faster reprojecting attributes using the Voxel Remesher
- Performance improvements when not using Face Sets and Masks
- Weight and Vertex painting will use the whole modifier stack if it produces no topology changes
- Face Sets are now opt-in, meaning that primitive objects do not have a Face Set attribute by default
UV & CHILL
UV EDITING
SCULPT
RELAX TOOL
The new geometry-based relax brush method helps you improves the quality of the UV mapping by making the UVs more closely follow the 3D geometry.
As this is a brush, the user can drive the relaxation process.
ON THE GRID
Several improvements in the UV Editor grid include:
Rotate UVs to follow the geometry orientation in the 3D Viewport, or aligned to a selected edge, or automatically guess the best orientation.
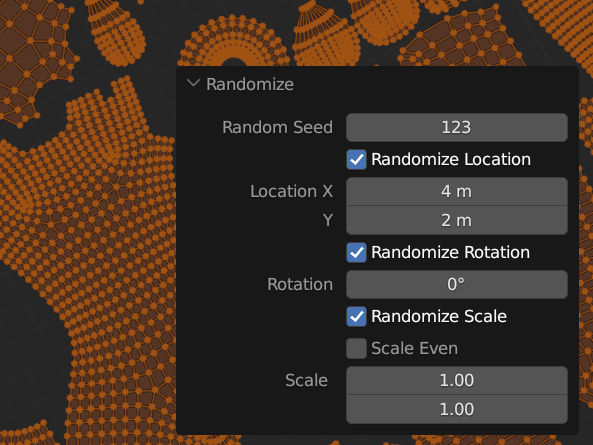
Quickly set a random value to the scale, rotation or offset of selected UV islands.
AND MORE
- Live Unwrap support for Grab tool
- Support for pinned vertices in UV sculpt tools
- Fix boundary edges for Relax tool Laplacian method
- Constrain to Bounds for UV sculpt tools
- UV selection support in many operations
- Prevent orphaned islands in UV sculpt tools
- Support constrain to bounds in Rotation operator
- Add option to use Blender 2.8 margin calculation
- Many UV Packing operations now work with non-manifold geometry
- Several fixes
GEOMETRY NODES
WHAT YOU SEE IS
WHAT YOU GET
Introducing: Viewport overlay for Geometry Nodes Viewer Node.
Preview attributes without affecting the final result.
The intensity of the overlay can be adjusted from the Overlay popover in the 3D Viewport header.
SAMPLE UV SURFACE
A new node to get attribute values based on UV coordinates.
A simple concept that opens endless opportunities.
PLUS THESE NEW MESH NODES
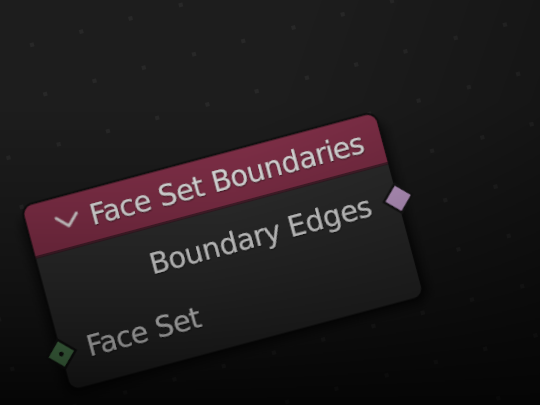
The new Face Set Boundaries node finds the edges between different patches of faces.
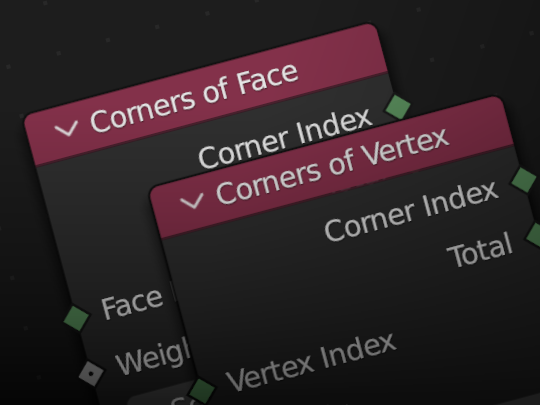
Corners of Face retrieves corners that make up a face, and Corners of Vertex retrieves face corners connected to vertices.
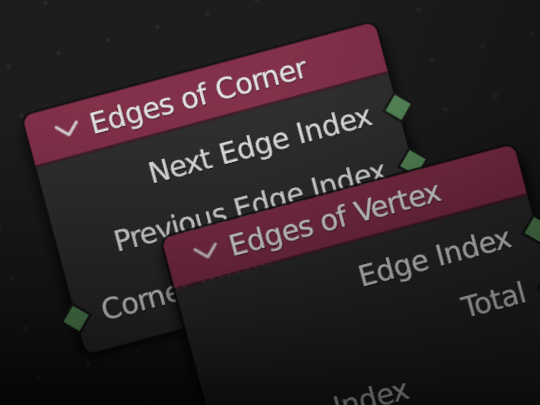
Edges of Corner retrieves the edges on boths sides of a face corner, while Edges of Vertex retrieves the edges connected to each vertex.
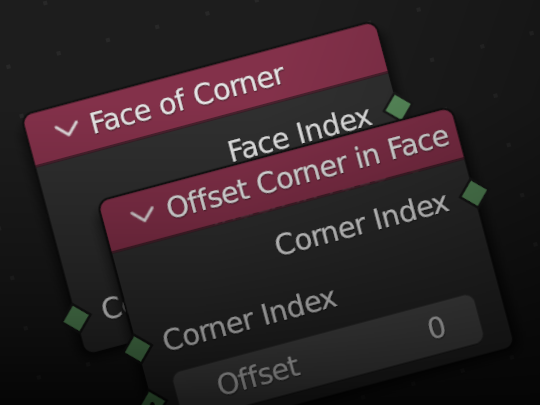
Face of Corner Retrieves the face each face corner is part of. Offset Corner in Face Retrieves neighboring corners within a face.
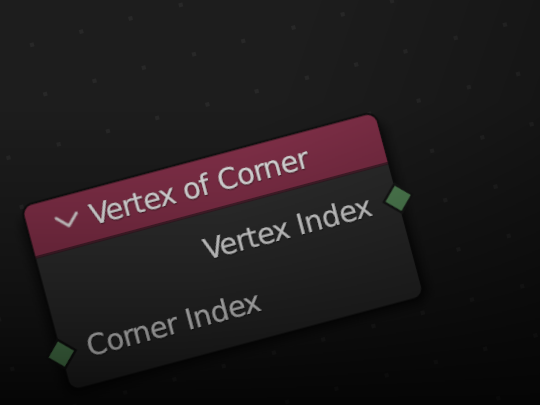
Retrieves the vertex each face corner is attached to.
NEW CURVE NODES
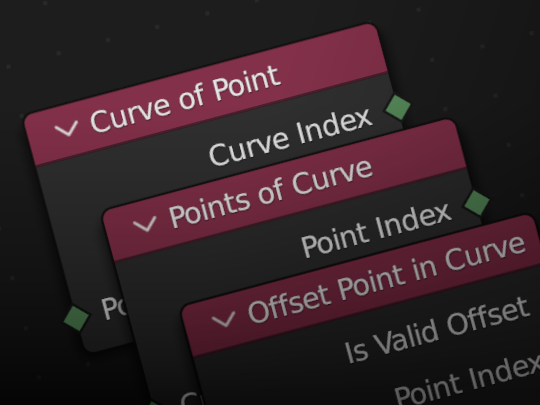
Curve of Point Retrieves the curve a control point is part of. Points of Curve Retrieves a point index within a curve. Offset Point in Curve Offset a control point index within its curve.
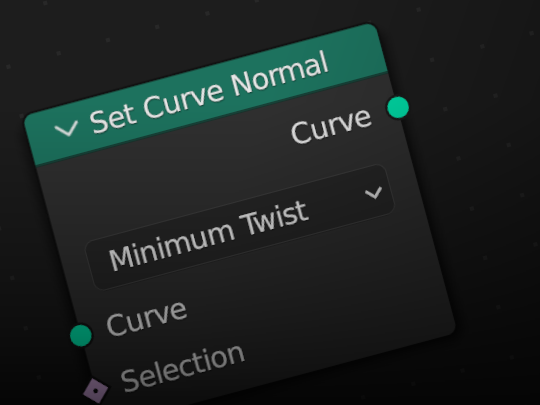
The Set Curve Normal allows choosing the normal evaluation mode for curves.
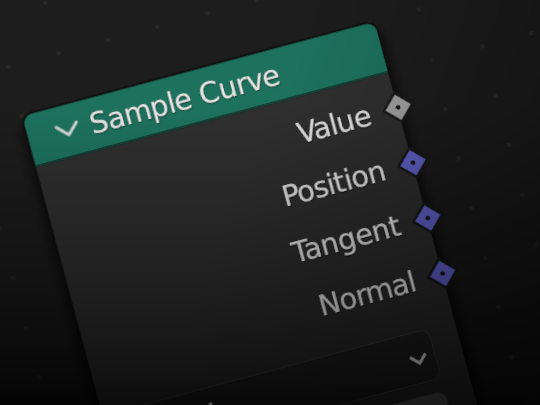
The Sample Curve node now has inputs for the curve index and a custom value to sample.
AND NEW GENERAL NODES
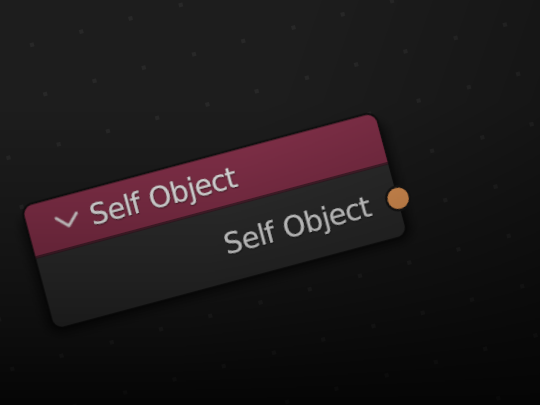
Retrieves the current modifier object for retrieving transforms.
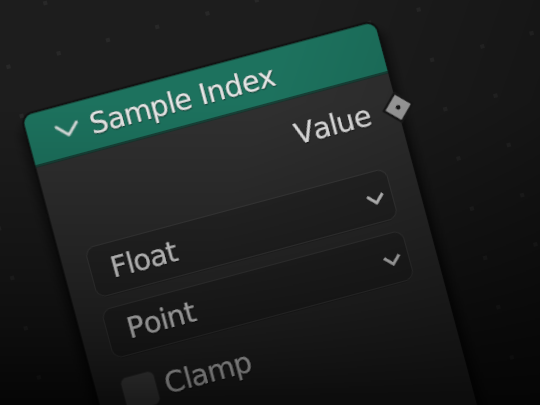
Retrieves data from specific geometry elements by index.
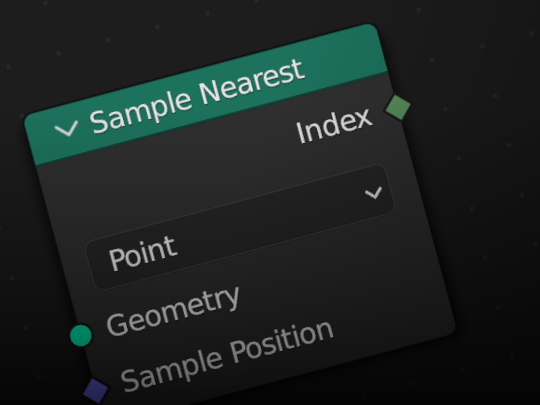
Retrieves the indices from the closest geometry elements
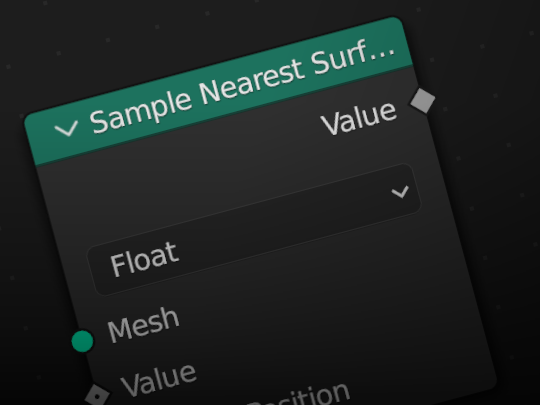
Interpolates a field input to the closest location on a mesh surface.
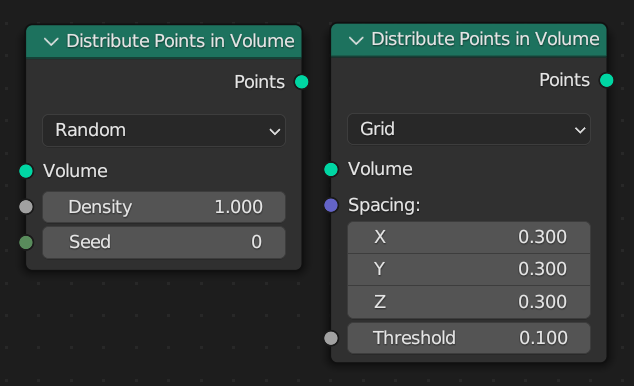
Creates points inside of volume grids.
EVEN MORE GEOMETRY NODES
- Node Group assets are visible in the Add menu of the node editor
- Trim Curves node now supports cyclic curves
- Data-block users count visible in the Context Path and Group node header
- New Preference to duplicate Node Groups
- Better looking node links
- Input sockets are reused when creating new node groups
- Node Groups can now be duplicated with Alt+D
- Trim Curves 3-4 times faster
- Attributes of instances are now accessible from materials through the Attribute node
- New, faster evaluation system
GREASE PENCIL
FULFILL
The Fill tool has been greatly improved with new options, shortcuts, and introducing a new algorithm to close gaps.
The new method uses the Radius of circumference to determine how close the strokes for filling. This new method is very effective when the extension done by the previous method (now renamed as Extend) of the strokes never cross.
Use the mouse wheel or PageUp/Down to adjust length of the strokes, S key to toggle extend method, use D key to toggle extended stroke collision.
AND MORE
- Import multiple SVG files at once
- New Offset parameter in reproject operator for surface mode
- Set Start Point operator for cyclic strokes
- New “Chain” mode in Time Offset modifier
- LineArt: Forced Intersection
- Python: New Trace Frame parameter in Trace operator
- New “Outline” modifier to generate perimeter stroke from camera view
BUT WAIT, THERE’S MORE
- Improved font thumbnails
- Improved caret when editing Text objects
- New shortcuts in Python Console editor
- Detect existing file and add auto-increase for output filepaths
- Improved editing of text containing non-precomposed diacritical marks
- Select objects menu now sorted by distance
- Outliner improvements
Read the full list of changes at wiki.blender.org
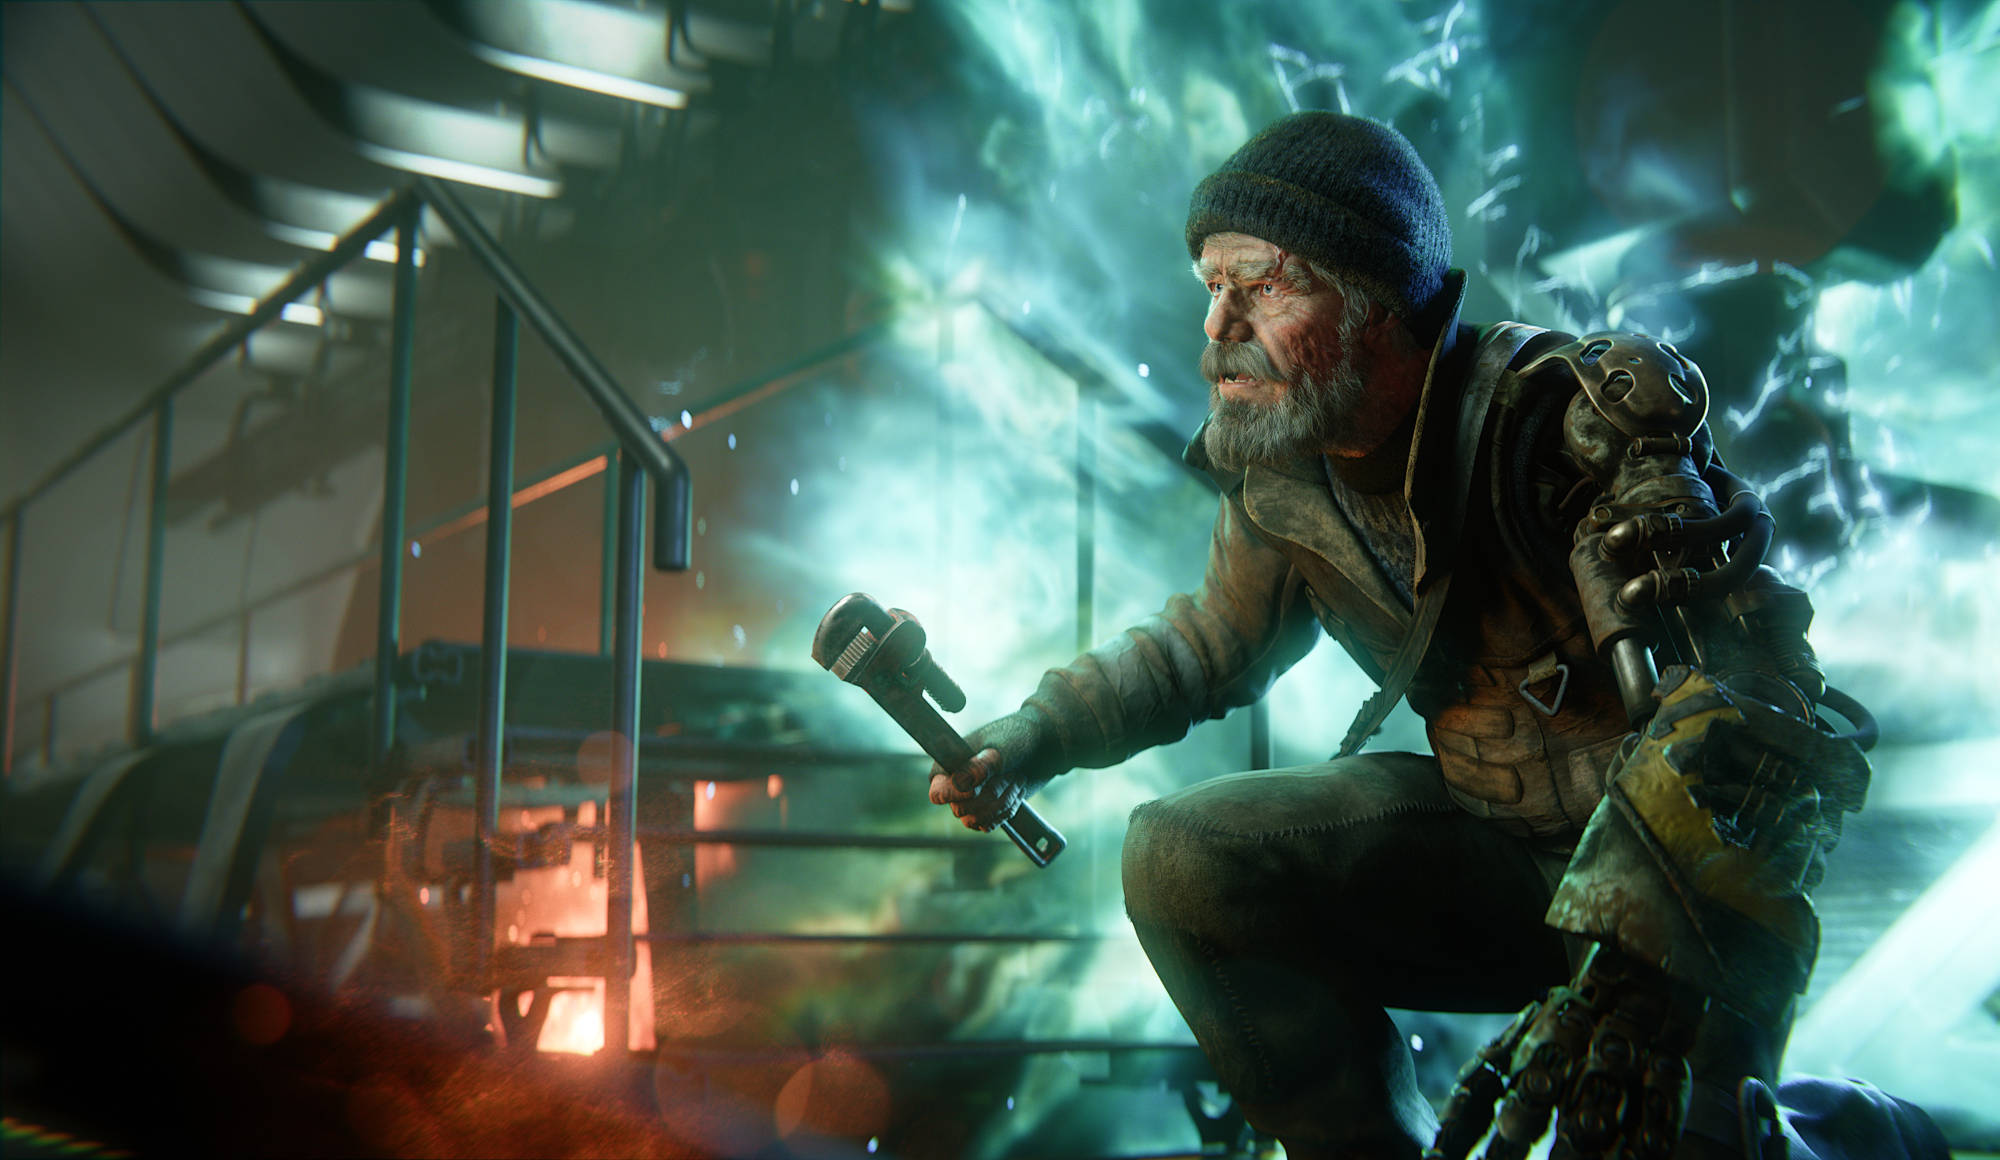
GET THE ARTWORK
Blender splash artwork source files are available for you to play with, not only for Blender 3.4 but for previous versions as well.
CREDITS
List of developers that contributed to Blender 3.4
Splash artwork by Blender Studio
Path Guiding underwater demo by Andy Goralczyk. Path Guiding room demo by Jesus Sandoval. Sample UV Surface demo by Simon Thommes. Mask from Cavity demo by Julien Kaspar. Sculpt cavity mask model by Steffen Hartmann. Sculpt hand model by Ramil Roosileht. Page design and layout by Pablo Vazquez.
Additional help by Blender Institute and the Blender community.
Huge thanks to everyone involved ♥
Blender is and will always remain free, forever.
Releases are possible thanks to the members of the Development Fund.
Join today and help to ensure the future of Blender for $6/month
